How ‘Talk for Writing’ Works with Preliterate Learners

Every time I used parts of Talk for Writing (TfW) in my Language lessons, watching my preliterate students experience success with retelling stories in Indonesian was so rewarding. The beauty of this strategy is the way in which it offers ways for preliterate learners to successfully ‘read’ and ‘re-read’ a familiar story and because learners are ‘reading’ images, the retelling is not limited to the text as it would be in a written story; it is limited only by the learners level of acquisition! Doesn’t this blow your mind when you take into account the young age of preliterate learners!

So, I would like to now take you through a breakdown of how this is done this over a ten week term, with one lesson per week. I really hope you can see that teaching our preliterate learners, our most enthusiastic and fearless cohort of learners, should not be limited to colours and numbers because they too can benefit enormously from Acquistion Driven Instruction (ADI).

Before I start though, it is important to undertand how the story I am using for this post fits into my Indonesian program. In my Scope and Sequence, this story, Elsa Makan Elsa (Crocodile eats Elsa), is the third I will teach the students in their first year of Indonesian. The preceding stories are Pleased To Meet You (Jim Tripp) and The Spongebob Story (Linda Li). Both can be found here.

As limiting vocabulary is vital for language acquistion, you may be surprised to read through my yearly list of Target Structures (TS) for the my reception (prep) learners. However the most significant aspect of my scope & sequence is that each story builds on from the preceding one with all structures being either high frequency (top 10) or vital for a story (eg buaya/crocodile). Thus, my students will already have encountered several of the TS’s before beginning this story.

Buaya Makan Elsa:

The story ‘Buaya Makan Elsa’ (The crocodile ate/eats Elsa) is based on a Carol Gaab story.

Ada buaya.
Buaya lapar.
Buaya lihat Elsa.
Buaya mau makan Elsa
Elsa berlari ke (your town/city/suburb).
Buaya berlari ke (your town/city/suburb).
Elsa berlari ke (your school).
Buaya berlari ke (your school).
Elsa berlari ke kelas Bahasa Indonesia.
Buaya berlari ke kelas Bahasa Indonesia.
Buaya makan Elsa.

Translation:

There’s a crocodile.
The crocodile is hungry.
The crocodile see Elsa.
Elsa berlari ke (your town/city/suburb).
The crocodile runs to (your town/city/suburb).
Elsa berlari ke (your school).
The crocodile runs to (your school).
Elsa berlari ke kelas Bahasa Indonesia.
Buaya berlari ke kelas Bahasa Indonesia.
The crocodile eats Elsa.

Target Structures (The vocabulary I will target this term)
buaya/crocodile
lapar/ hungry
lihat/sees
berlari ke/runs to
makan/eat


In lessons 1 – 3, I introduce the target structures and through Total Physical Respsonse (TPR), Kursi Luar Biasa (Special Person Interviews), Picture Talk, and calling the roll asking, Apa Kabar? (How are you?) learners receive fun and compelling repetitions of each.

For example, in lesson 2, I will introduce the Target Structure ‘lapar’ (hungry). I will do this firstly before I call the roll. I will point to the poster on the wall, say the word, do the gesture (rubbing my tummy with big eyes) and tell the meaning. I do not ask students to guess the meaning as sometimes this has led to future confusion. Its so much better to establish the meaning clearly and then get as many reps saying it with the gesture throughout the upcoming lesson. I always begin lessons calling my class roll on class dojo, asking each student, “Apa Kabar?” (How are you?) If a student hesitates, I might ask them, “Jenny lapar? Kelas, Jenny Lapar!” If Jenny shakes their head, I restate, “Jenny tidak (not) lapar!” Then again check in with Jenny, “Jenny tidak lapar?” Sometimes I will also award pandai points for students using the structure confidently in context – especially if the pandai points need boosting!


After sitting listening to the roll, we immediately head into TPR to get students moving. Here I get reps on past target structures eg stand, walk, dance, jump, and then add lapar, and then introduce makan. Again by saying the word, showing the gesture and then establishing meaning. I will include phrases like makan (students mime eating), makan es krim (students mime eating an ice cream), makan hotdog, makan buaya (Aduh Bu Cathy!) Sneaky rep for buaya and follow up with a comprehension check for meaning!!


In Kursi Luar Biasa, I will have a huge bag of cognate food props eg hotdog, hamburger, ice cream, avocado, broccoli, buaya, etc and will include in the individual student interview input based on hungry and eat. Eg Jenny lapar? Jenny mau makan hotdog? Jenny tidak mau makan hotdog? Oke. Jenny mau makan es krim? Ohh, Jenny mau makan es krim. Pete, kasih Jenny es krim. Wow, Jenny pandai!! Jenny berkata, terima kasih Pete!! After I have found several food items that Jenny wants, I take a photo of Jenny pretending to eat one or all and that photo will be used for next lesons picture talk to get more reps on hungry & eat!

Depending on time, I also like to include a series of quirky pictures I’ve found on Google images for additional reps on the lesson target structures. I begin with a photo of someone holding a food cognate eg pizza. I will ask questions about it eg laki-laki atau perempuan? (boy or girl?) Laki-laki lapar? Laki-laki mau makan brokoli? and so on. I usually have 4-5 pictures ready in case any fall flat and then next, I ramp it up by having a shape covering the item the person/animal is holdiing/eating in the picture. This leads to questions including; anjing (dog) atau buaya? Buaya makan apa? Buaya makan apel? Ya, Buaya tidak makan apel. Buaya makan stroberi atau hotdog? Then removing the shape and celebrating with the students who guessed correctly! Young learners absolutely love guessing games and they are perfect for repetitions of target structures.


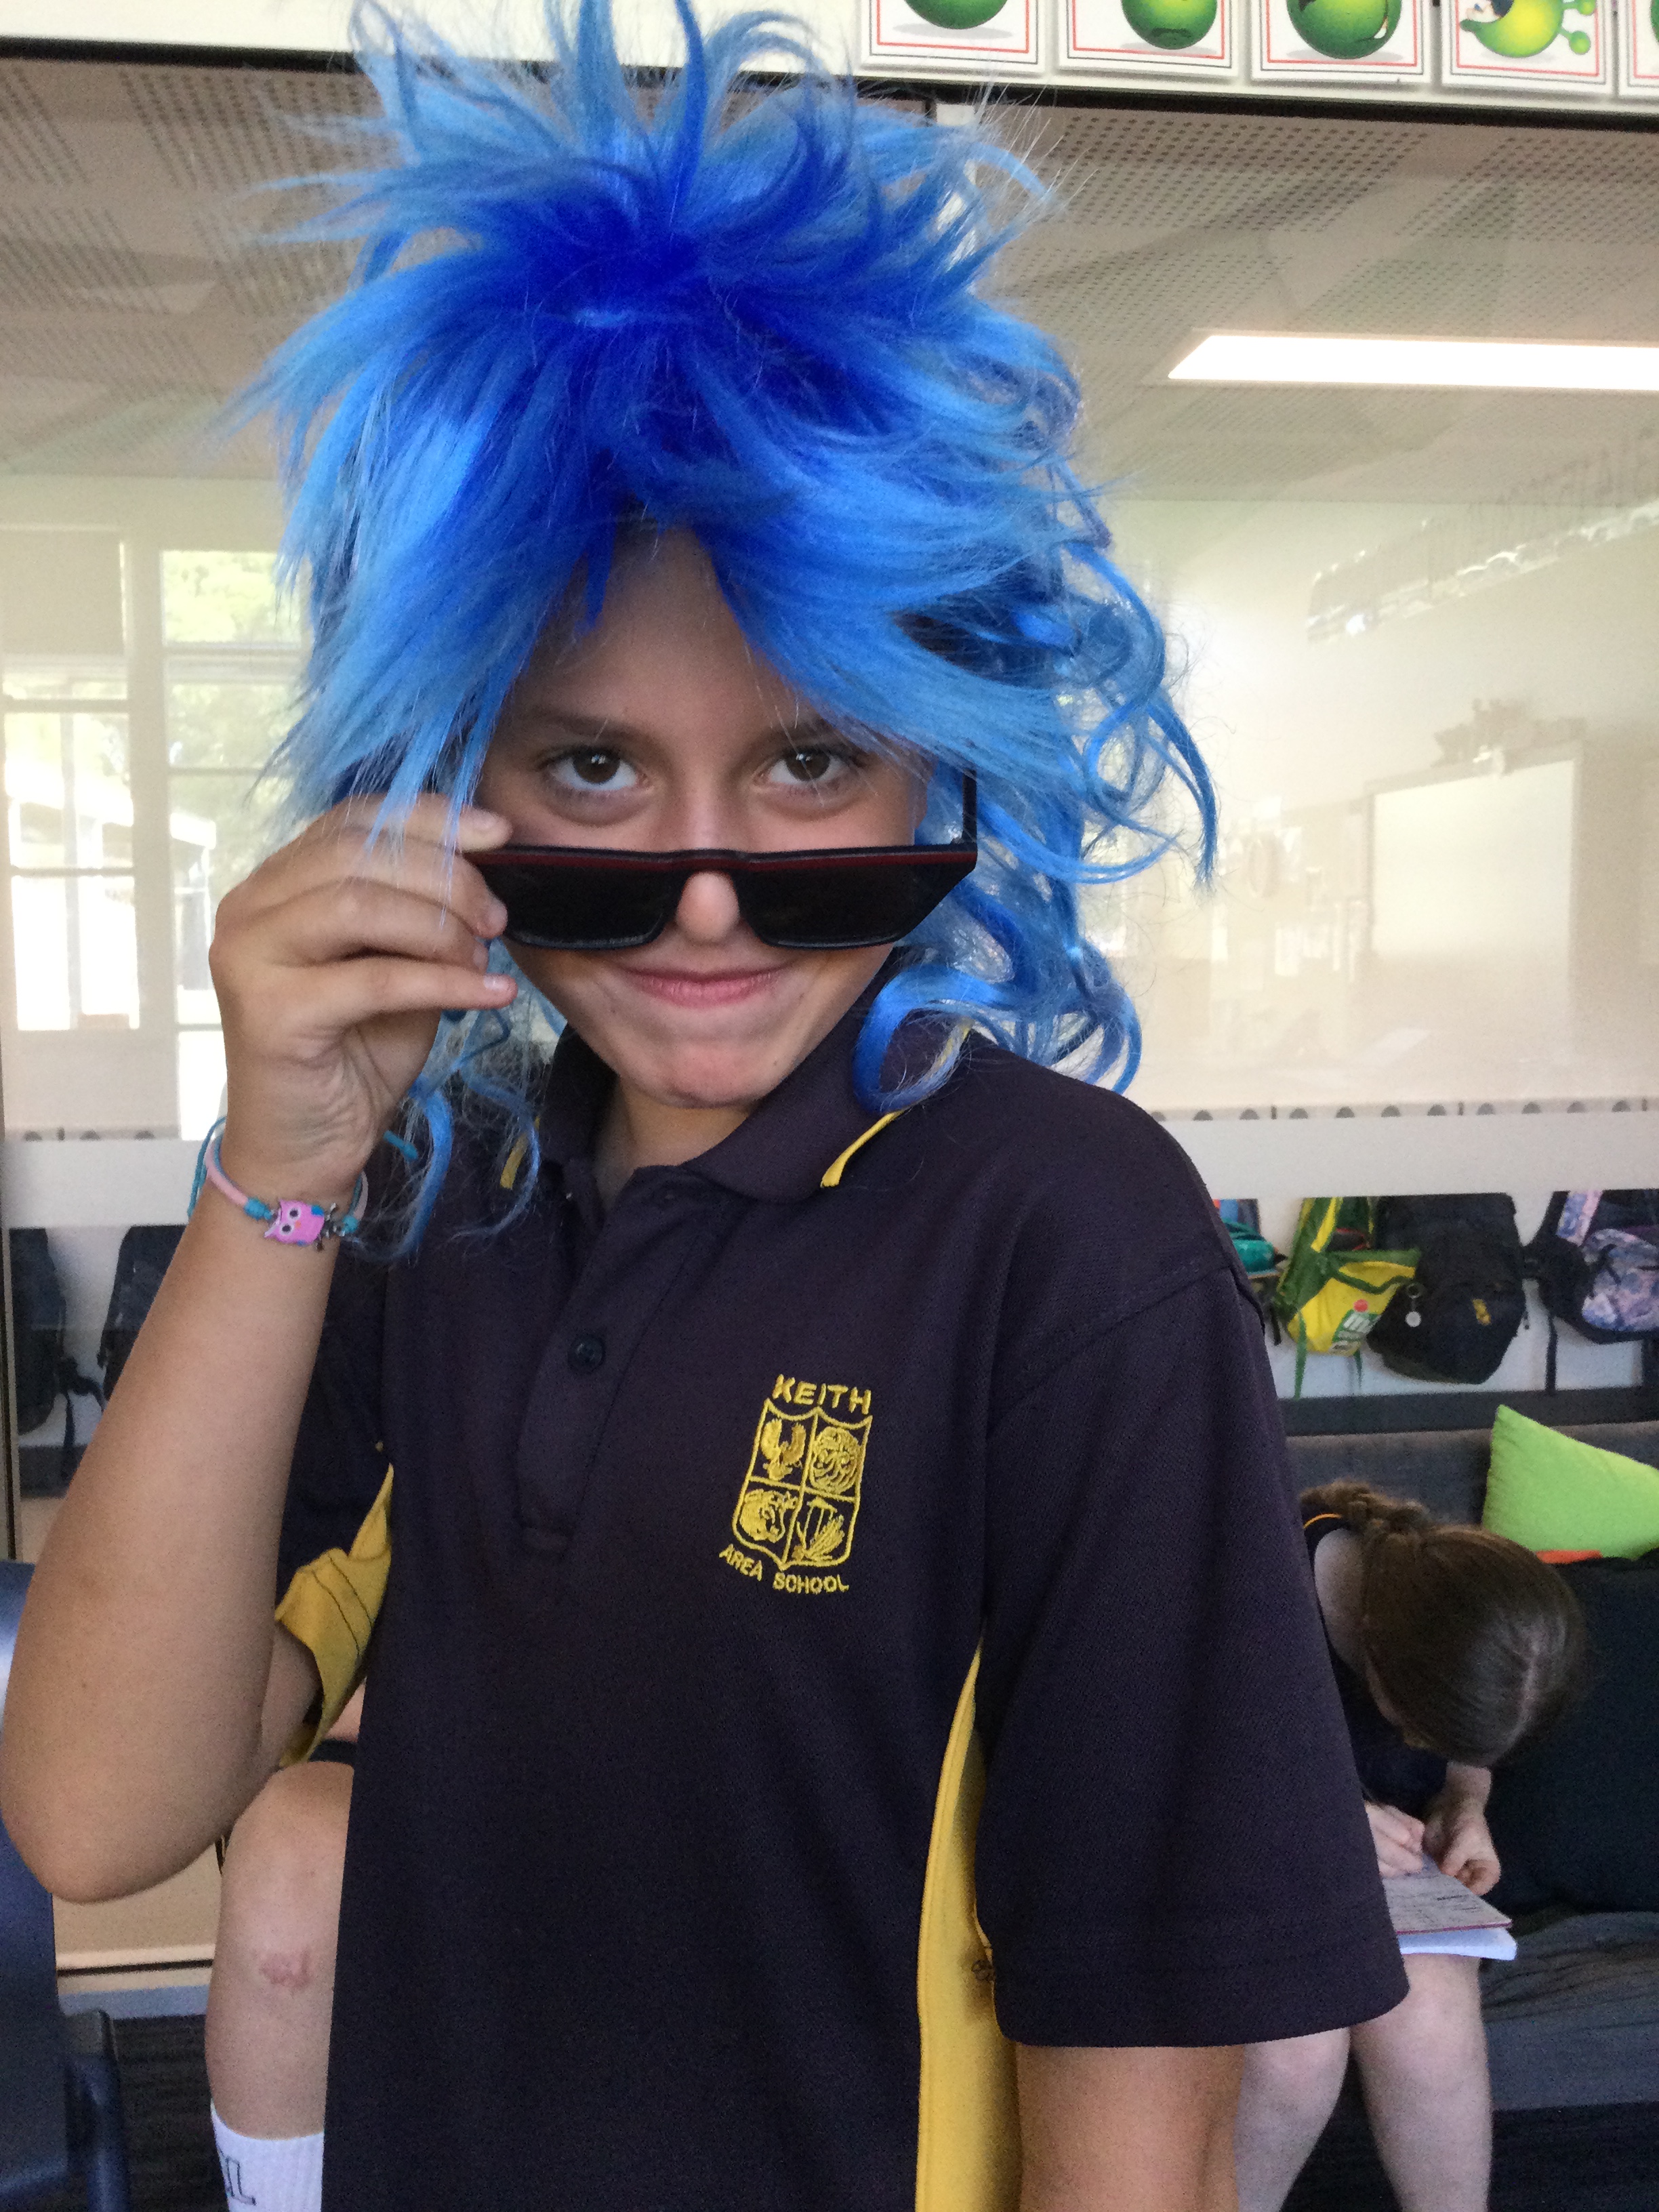
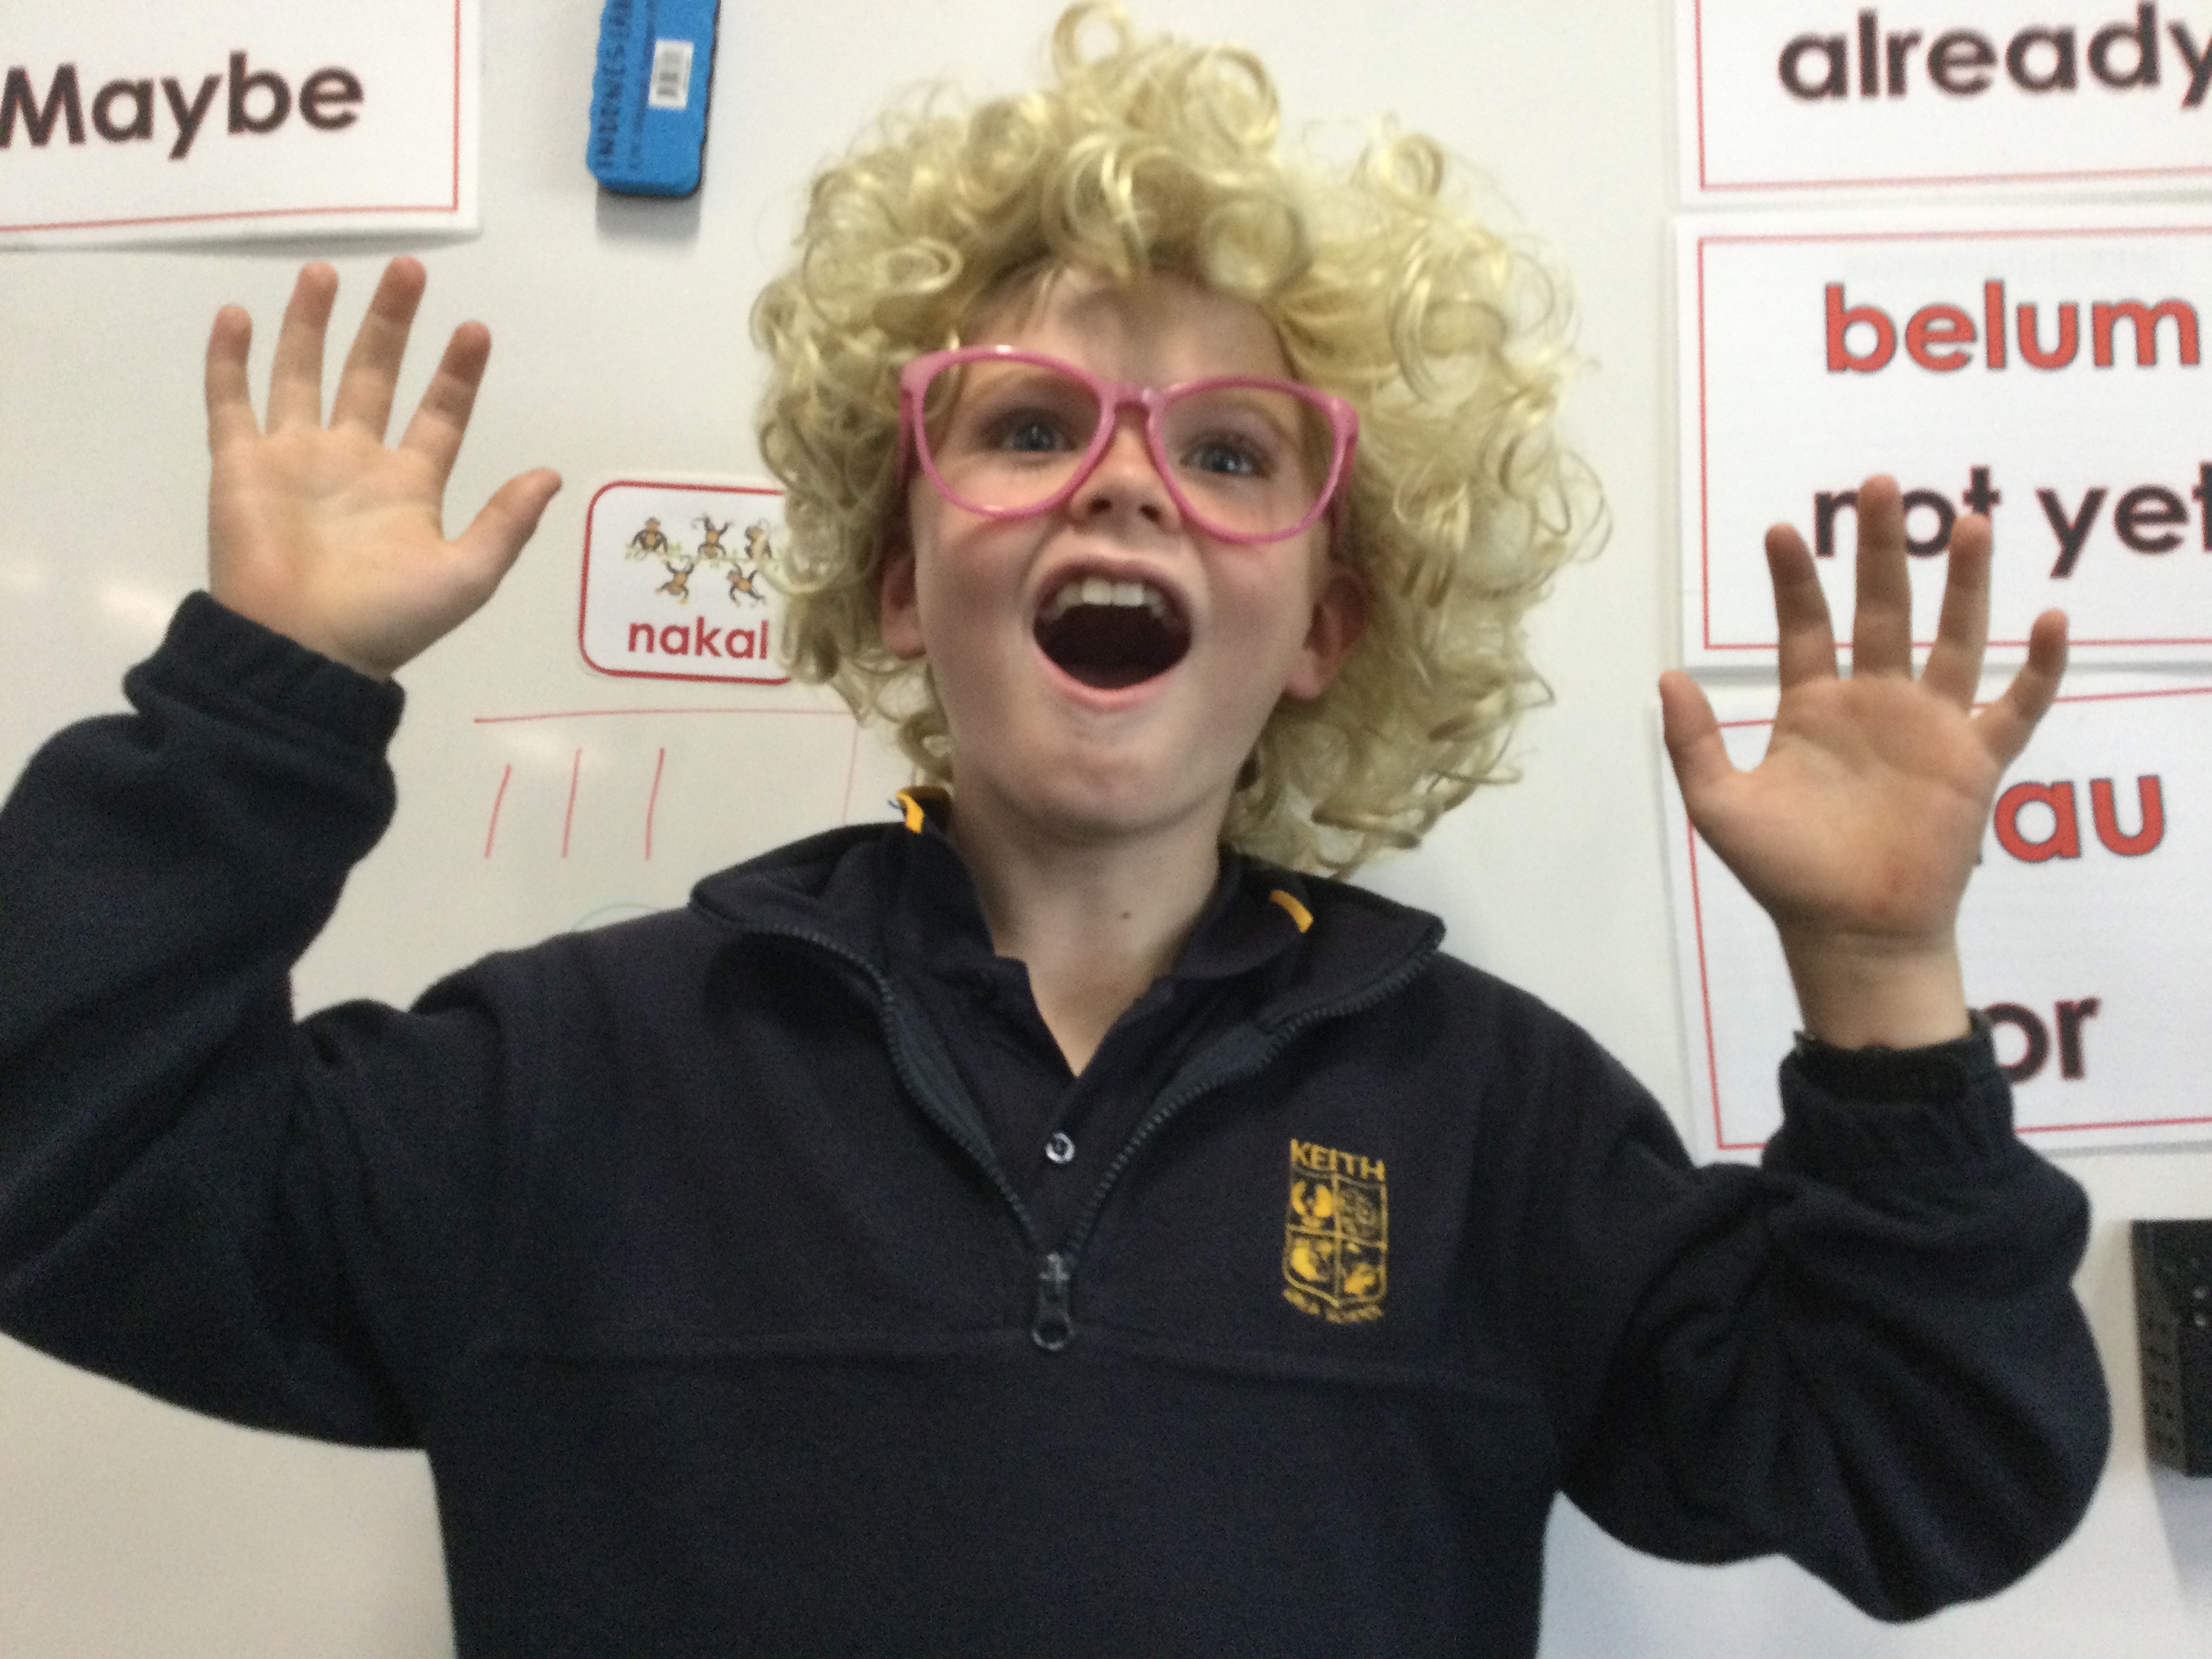
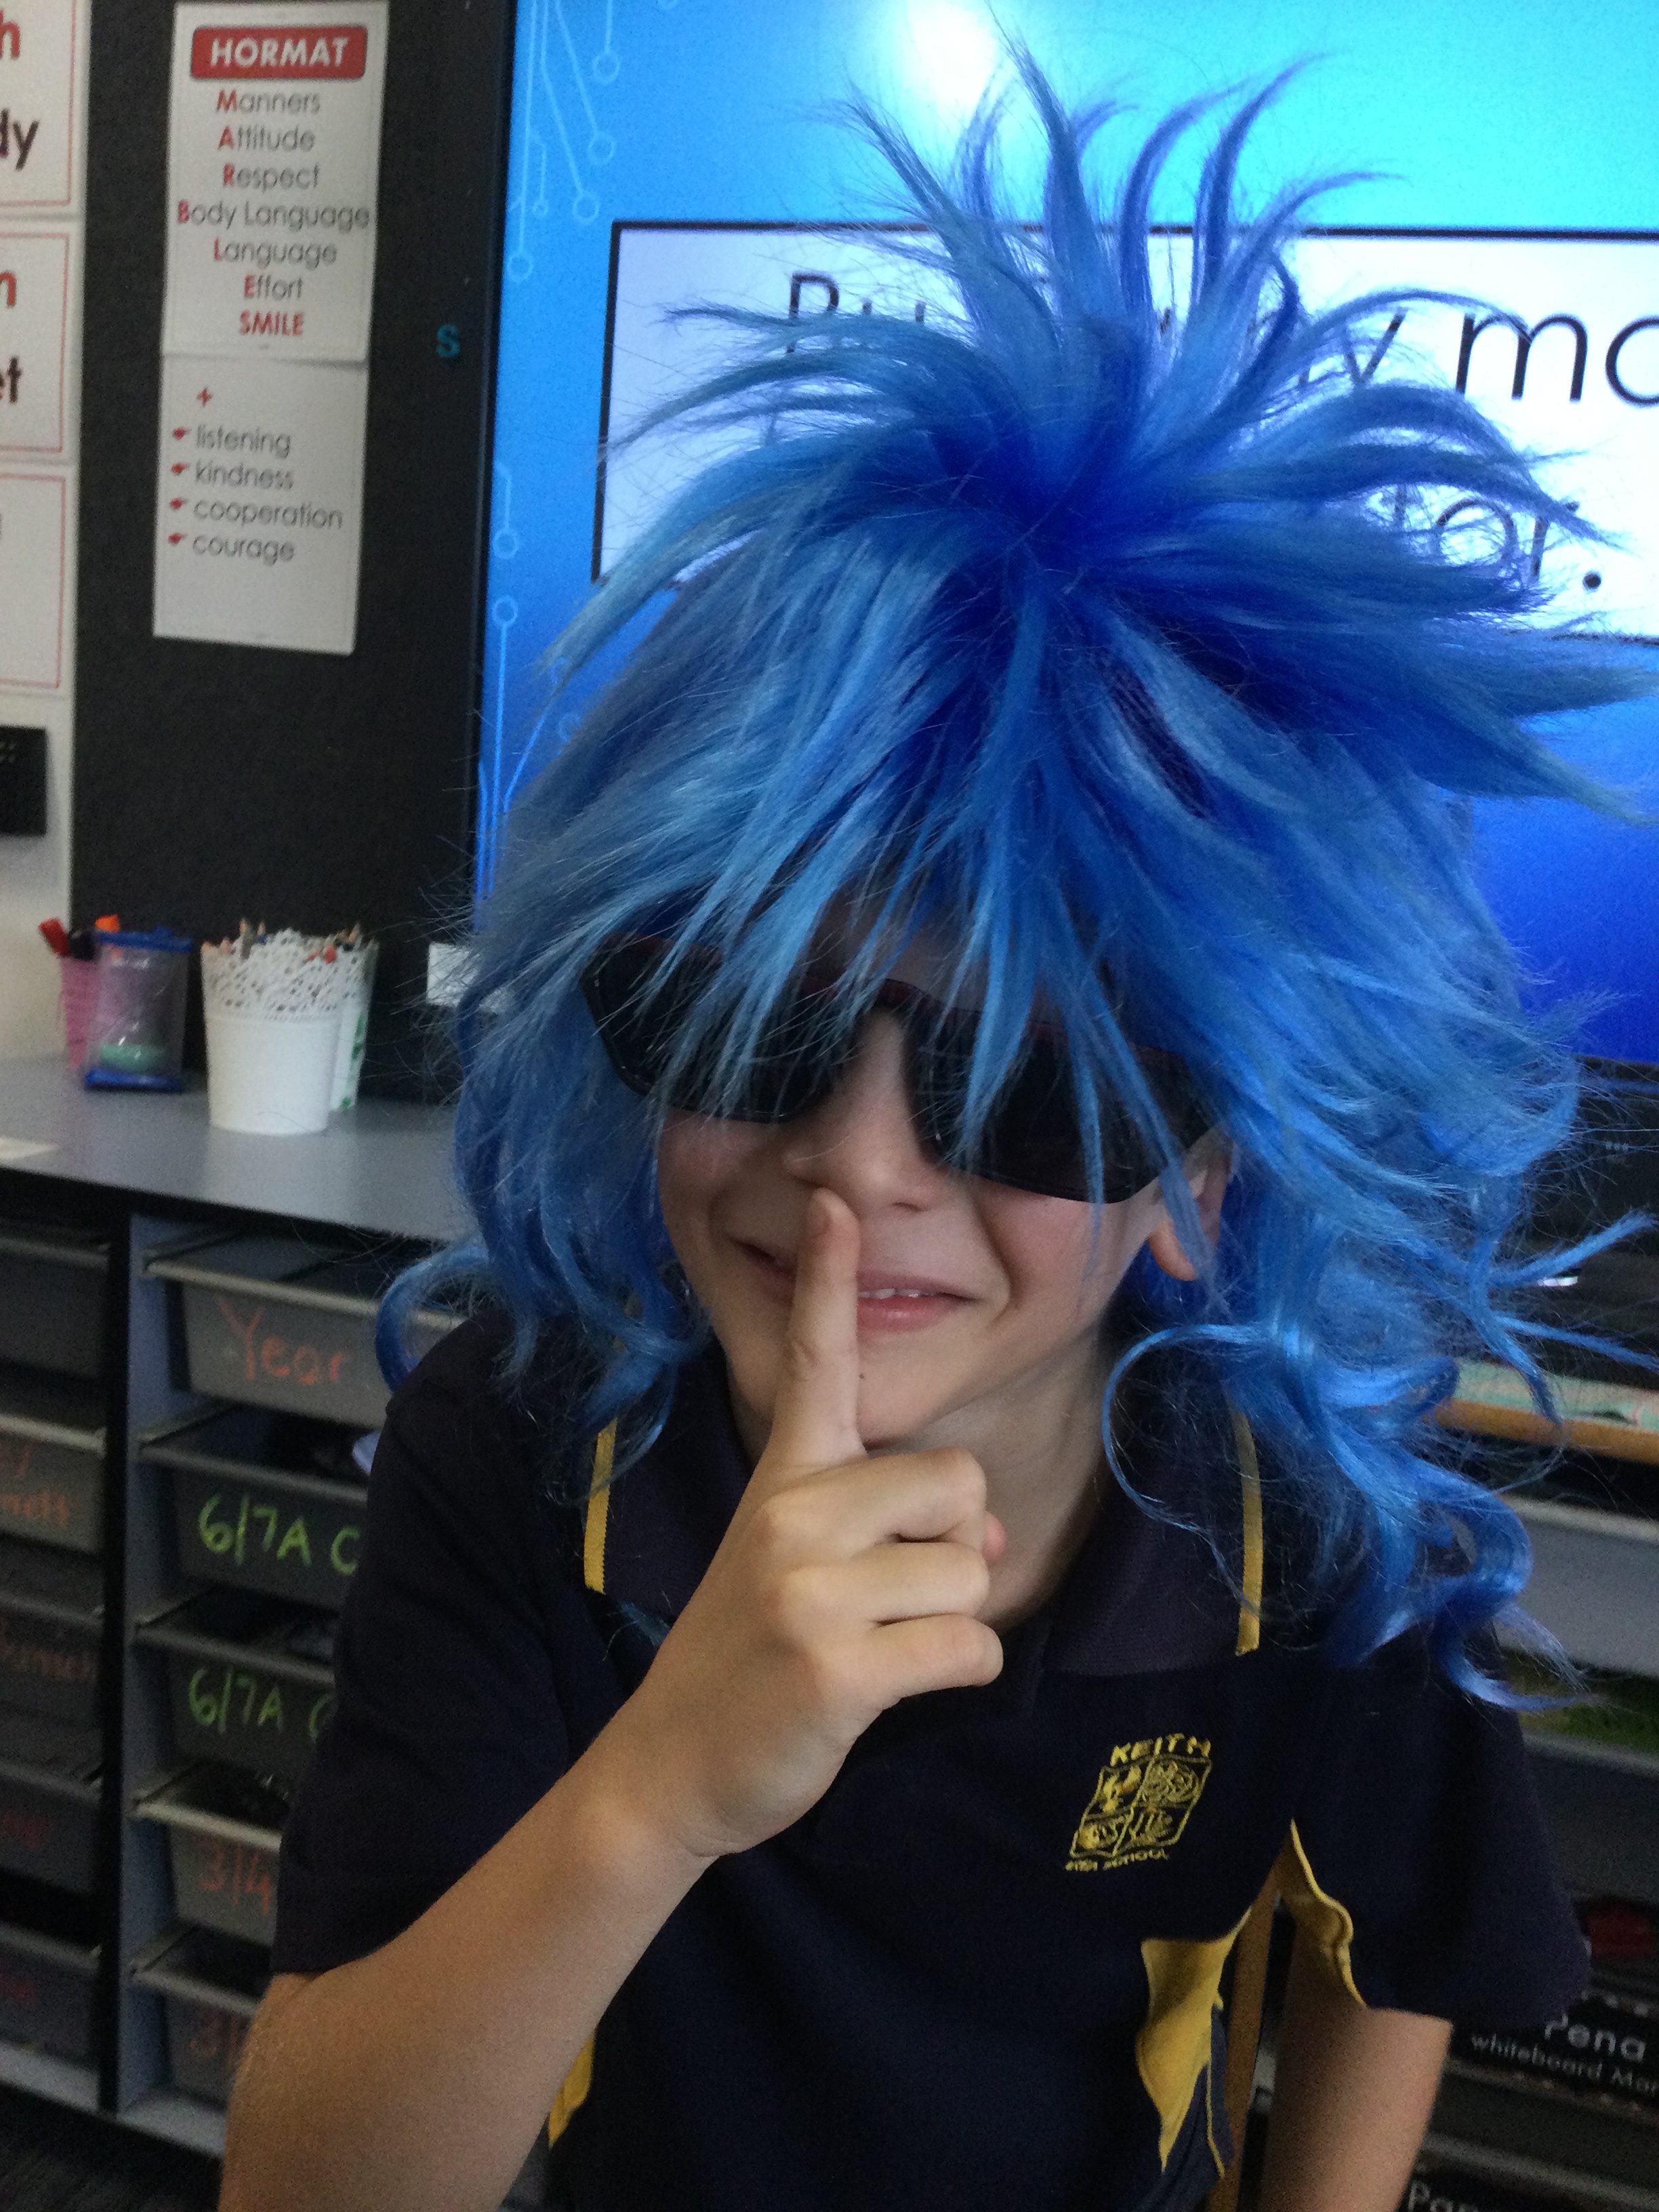
By lesson 4, the students are ready to listen to the story. I love story asking with student actors and the class love watching the acting especially if there are quirky props involved. Dont forget to remind your students that if they are not comfortable wearing, saying or looking funny, they might prefer to be in the audience. Using the actors, I tell the story slowly getting as many reps as possible, doing lots of comprehension checks (with the audience, not the actors), and asking actors to redo their acting if it did not clearly demonstrate meaning. It is important not to rush through the acting. It is the first time the class has heard the story and it is critical they comprehend it completely. Also, with colourful wigs, funny clothes, huge hats, &/or masks, the audience will definitely not complain watching a scene several times! They will be so engaged, they won’t realise they’ve been sitting still and fully focused on the story!


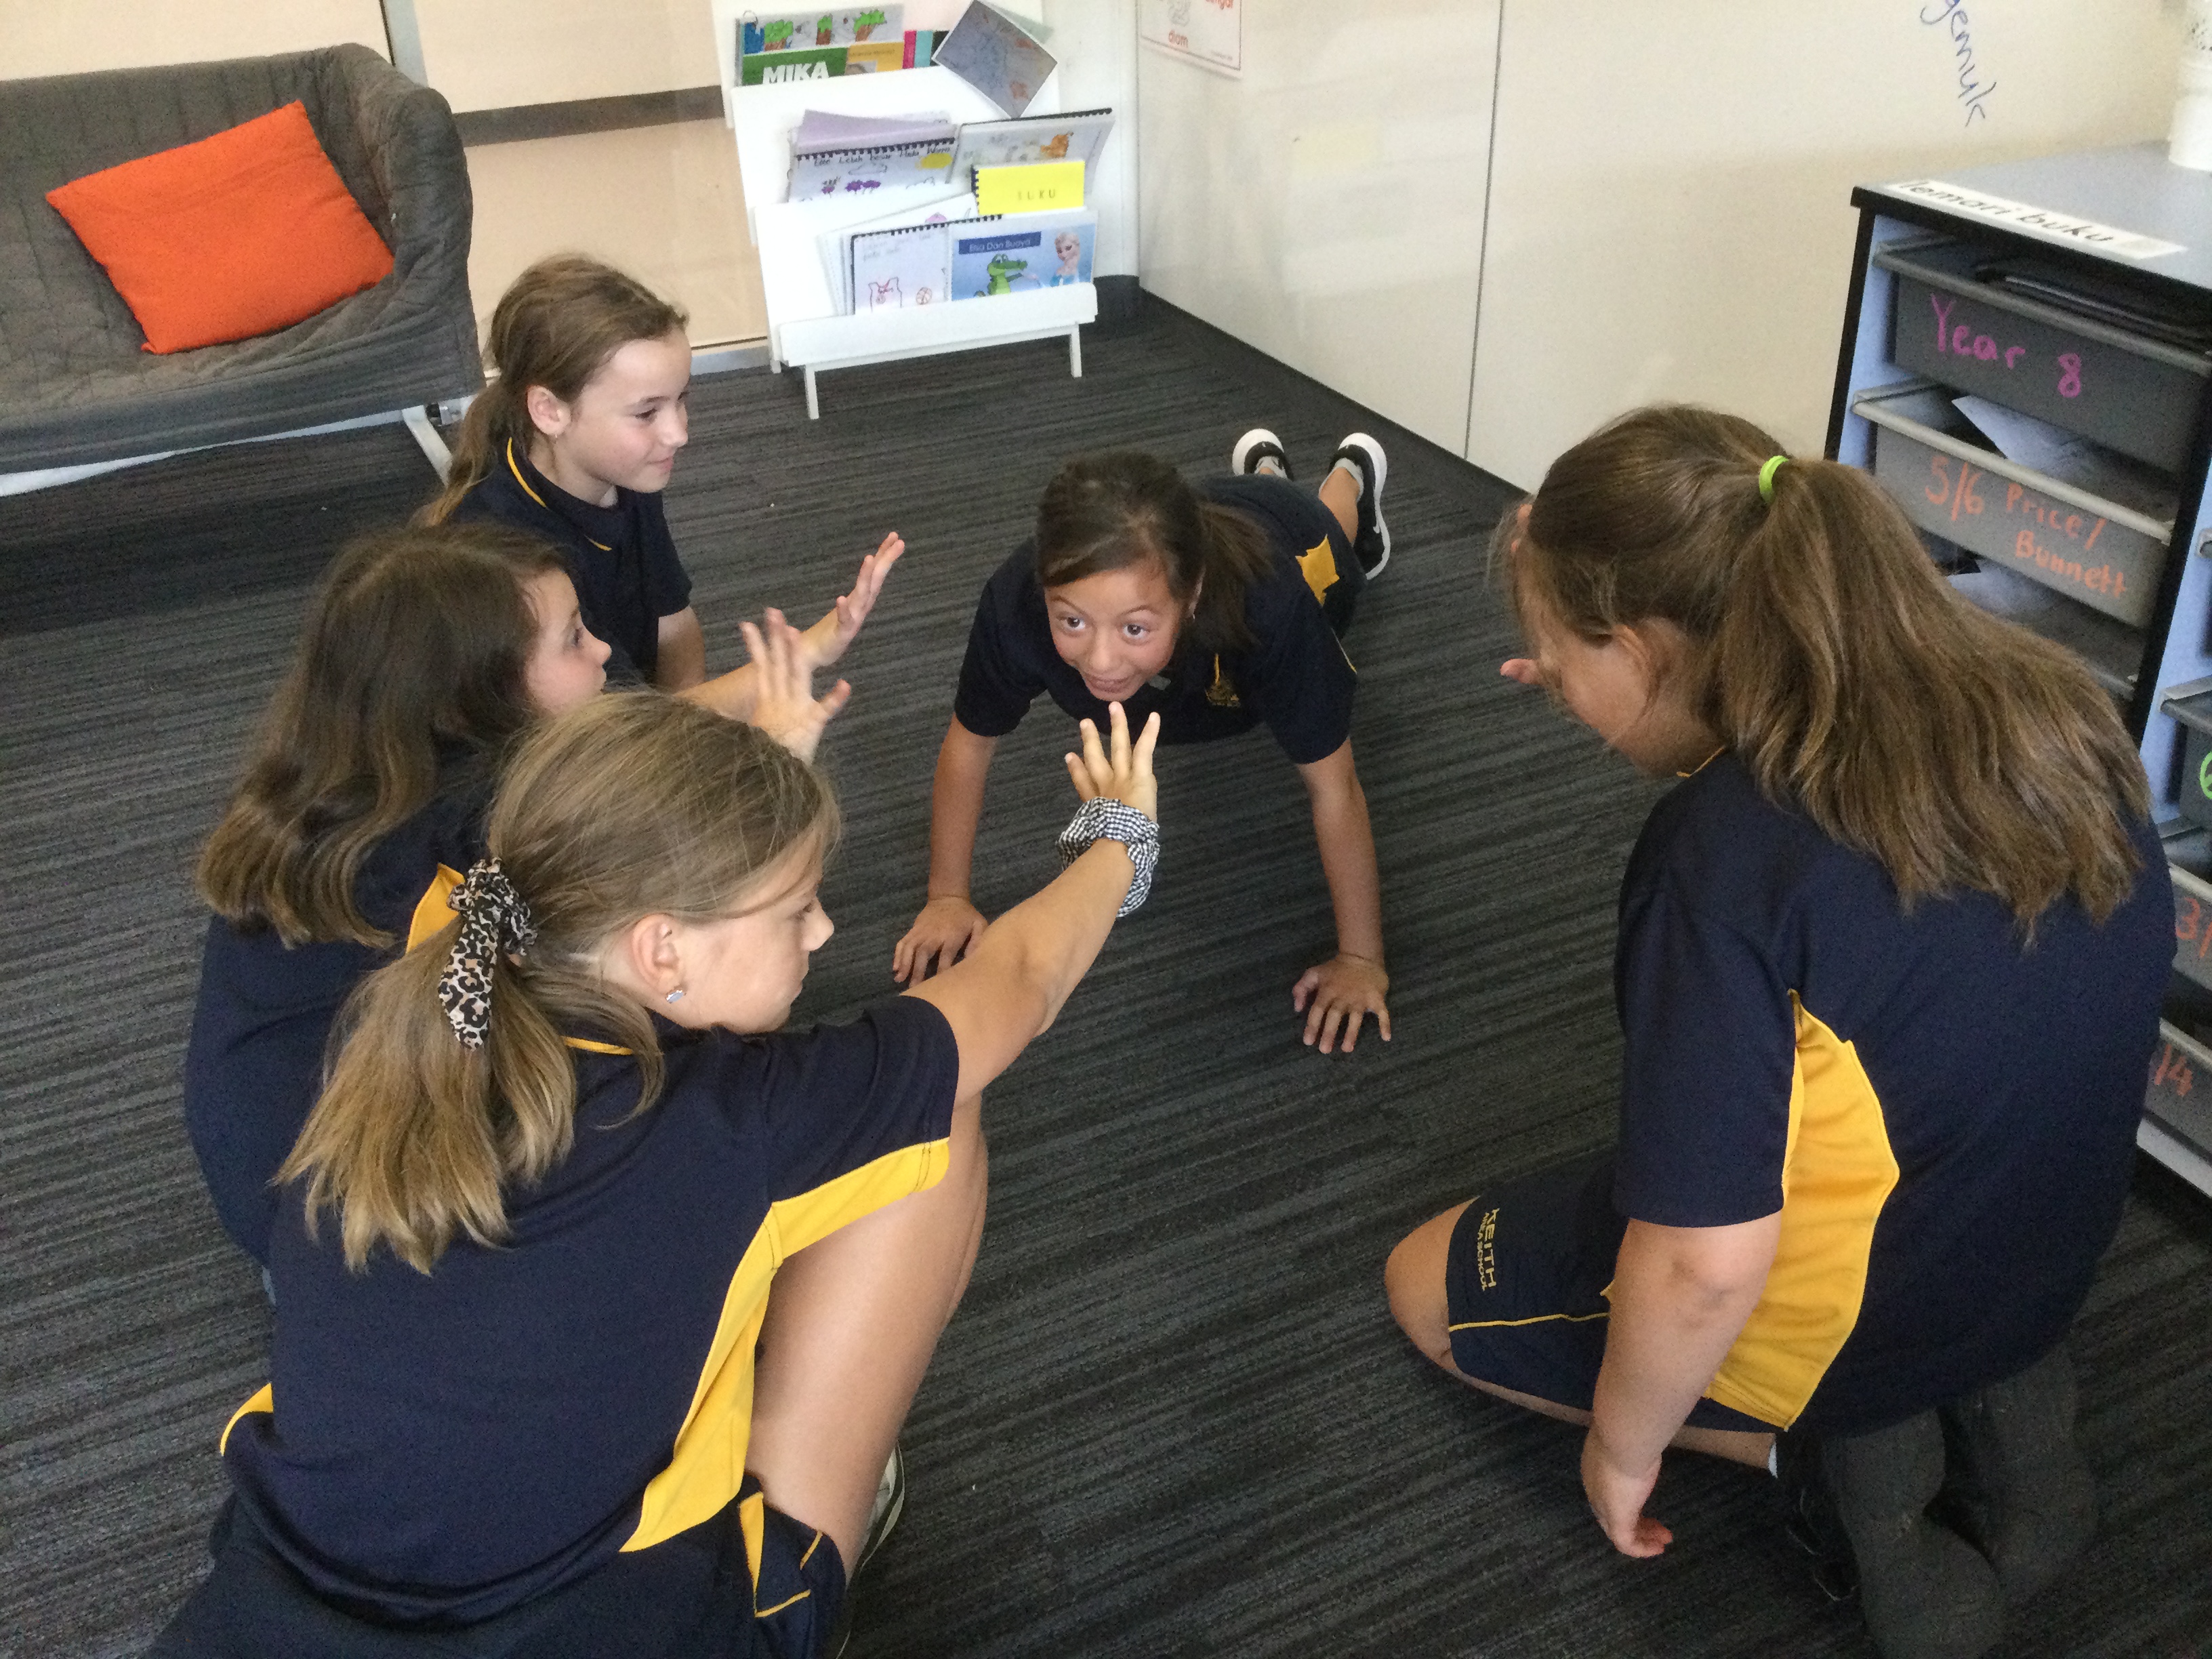
Straight afterwards, allowing the actors to choose whether they continue with the props or not, the entire class is asked to stand in a huge circle for part 2 of All The World Is a Stage (ATWAS). I have blogged about this here (scroll down to (variation # 2). Students now have the opportunity to not only get moving but also demonstrate their own amazing acting skills.

After students have watched the story with actors and acted it out themselves, they get their first taste of the story told with images. I firstly read it to them while pointing to the images that represent the target structures of the story. At this stage I encourage my students to only listen and understand; I do not want them choralling with me as it’s important that the first telling is accurate. The second time I read it, I invite students to choral read with me if they’d like to.
Note: The story below is technically a parallel story which should NOT be used for the first read through if sticking to the original version. It is though, a story I have used previously and demonstrates how stories can be adapted easily to include certain curriculum items.
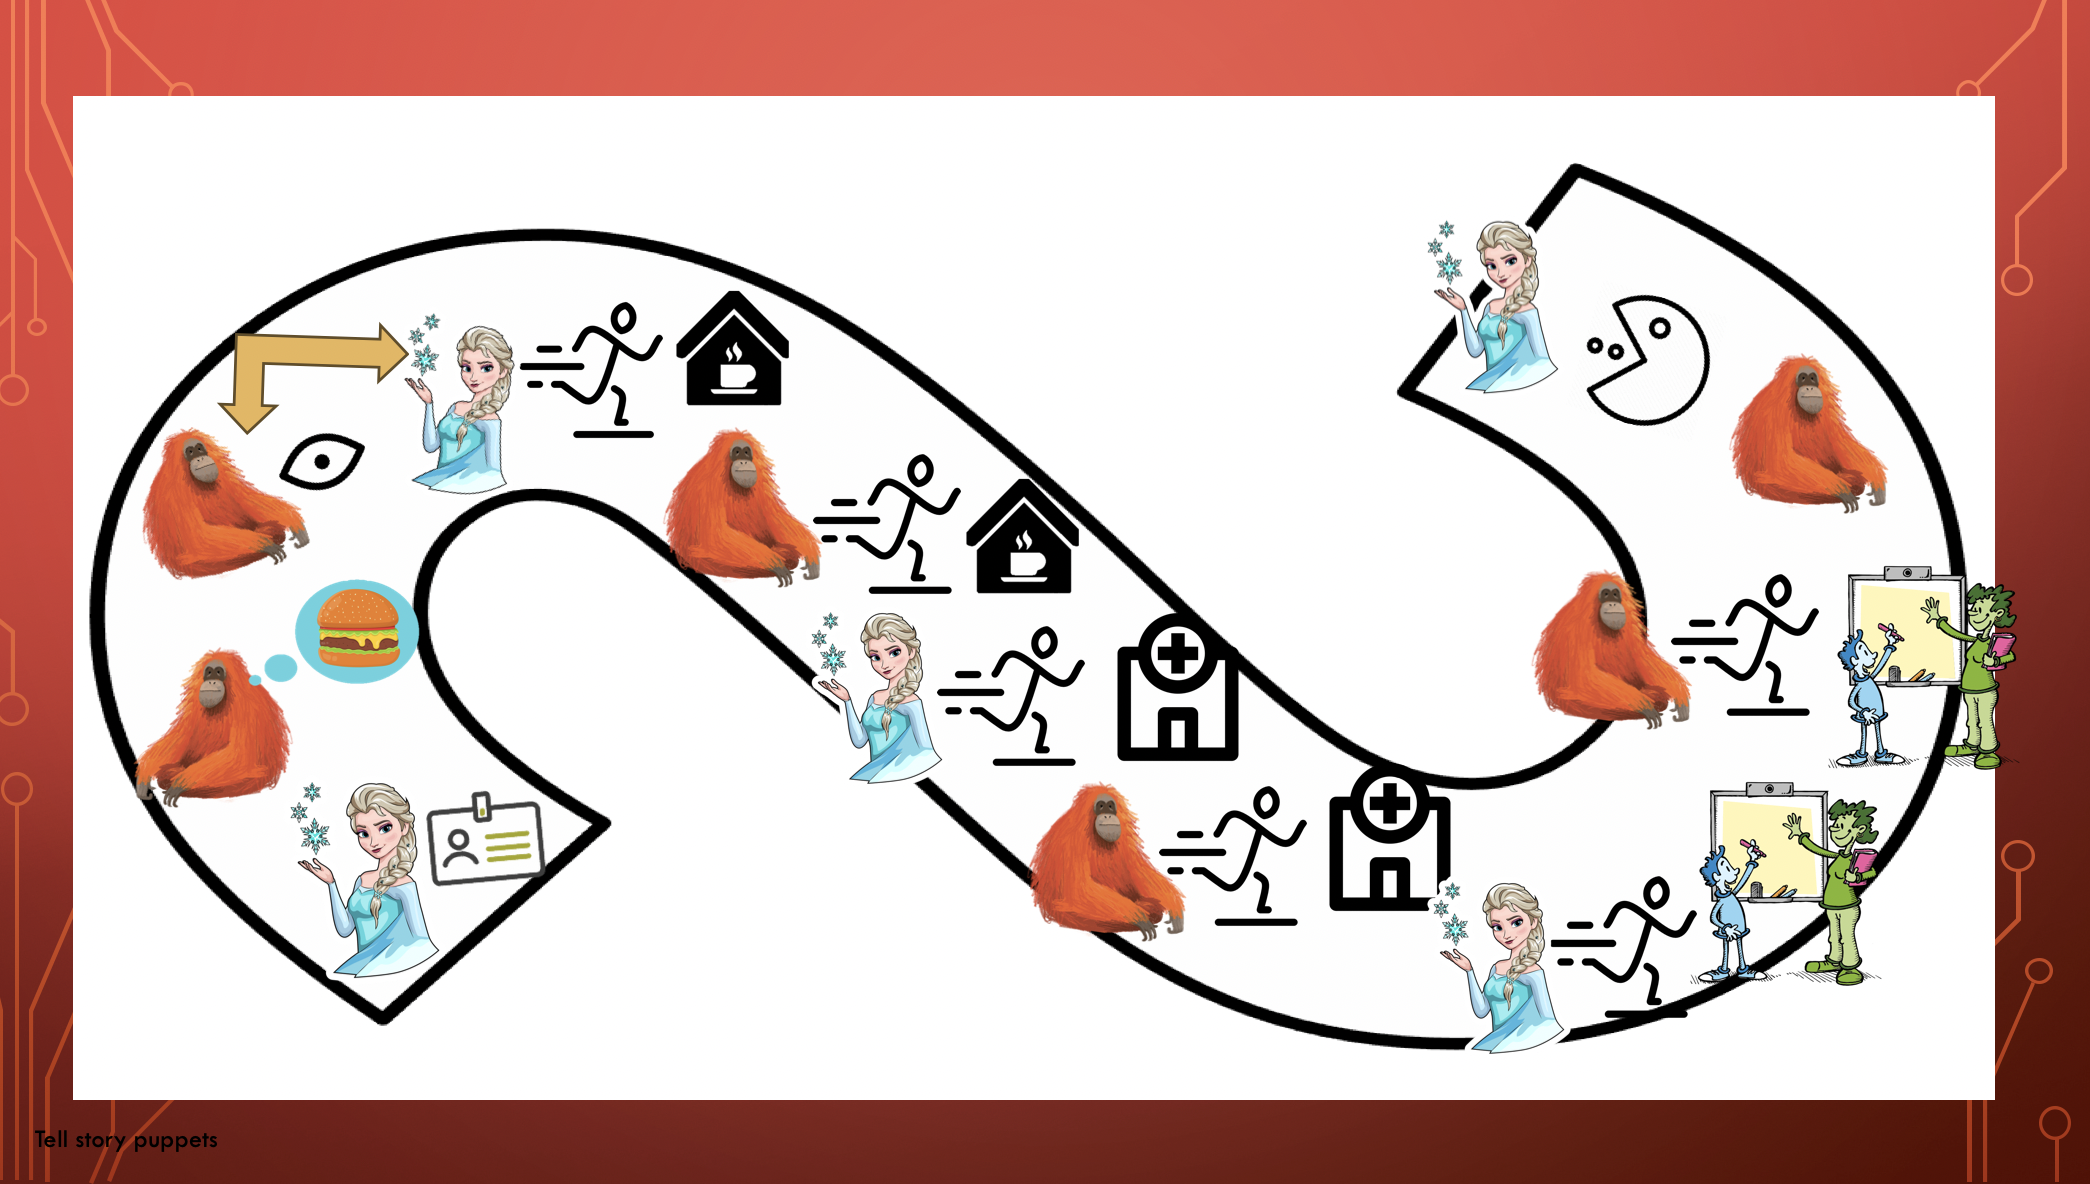

Lesson 5 includes the third and final ATWAS variation where students in pairs act out the story one more time. This variation is quite time consuming but well worth it. The way in which I do this can be read in this post (scroll down to Variation 3) which serendipitously is based on the Elsa story!! It’s worth reading to the bottom of that paragraph to discover a popular twist on ending this TPR variation!!
After the final ATWAS variation, I show a YouTube clip of the story. I absolutely love making these clips and uploading them to my youtube channel for students to access after school or in the holidays. Thankfully students thoroughly enjoy watching them because showing the clips gives you the teacher, a little breathing space!
Below is the clip for the Elsa dan Ortangutan story version:

The last part of this video is a read through of the story using the Backwards S from above. I try to consistently point to the images that represent each target structure as I am telling the story. Directly after the video, I project a copy of the Backwards S up on to the screen to use for more repetitions of the story. This time I encourage students to join in with me for the retell. The initital retell is told at a slower pace, including repetitions & comprehension checks as needed. Celebrate student engagement and effort with pandai points!! After a few slow run-throughs, I like to invite a student to come out the front and demonstrate their awesome reading skills. This offers students an opportunity to shine and you will be amazed at just how well they can retell the story through reading. I like to record my superstars – not only is it impressive evidence to share at parent teacher evenings, but it can also be shared with theirs and other classes for bonus repetitions! Watch them puff up with pride!!
A final note about the student retells; because they offers valuable story repetitions, it is ok to softly choral read with the student if they require it and its also totally ok to provide the target structures if they look for support. It is all about building confidence through success!

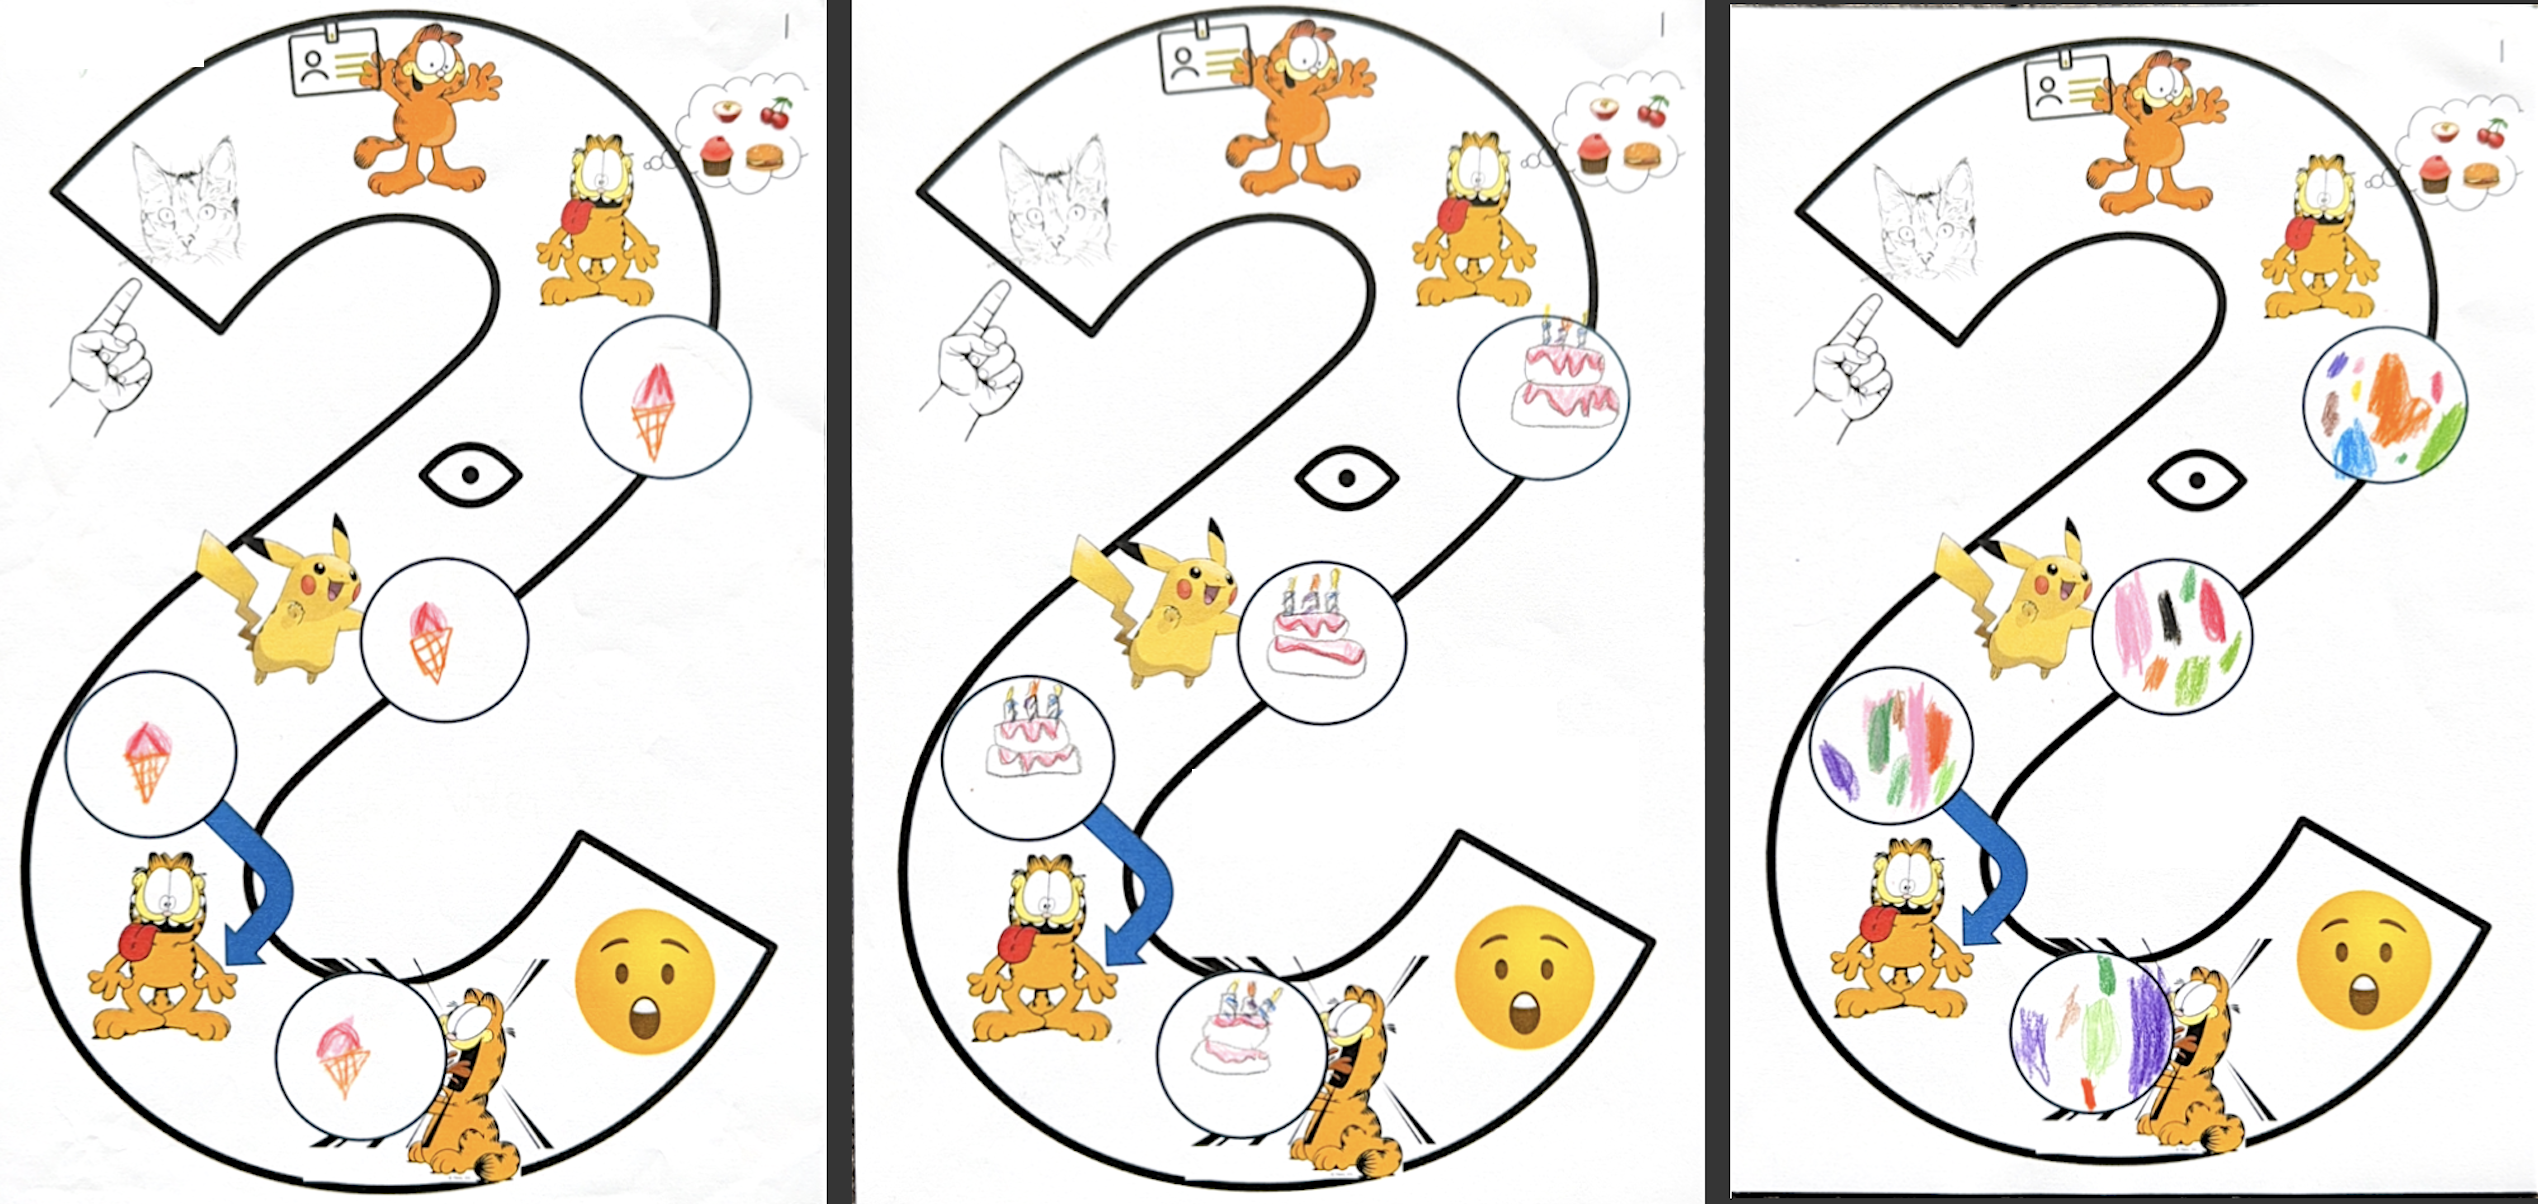
During Lesson 6, in preparation for the assessment task next lesson, I hand out a copy of the Backwards S story to all students. I encourage them to find a comfy spot and try to read the story quietly to themselves. I circulate checking in with students, encouraging them to read through as often as time permits. Then following this, students swap the complete Backwards S of the story for an edited version where one aspect of the story is replaced with a blank circle. For example, for this story, the circle shape could replace one of the characters plus give students the choice at the end of who will eat who. If using the circle for a new location, I advise being sneakily prescriptive with young’uns, ensuring that acepted suggestions are ones that have simple representations/logos eg golden arches, otherwise students will spend too much time with their masterpieces and a perfect product is not what this is all about. Here are some images from a different story (similar to this one) with the circle replacing the food used in the original story.
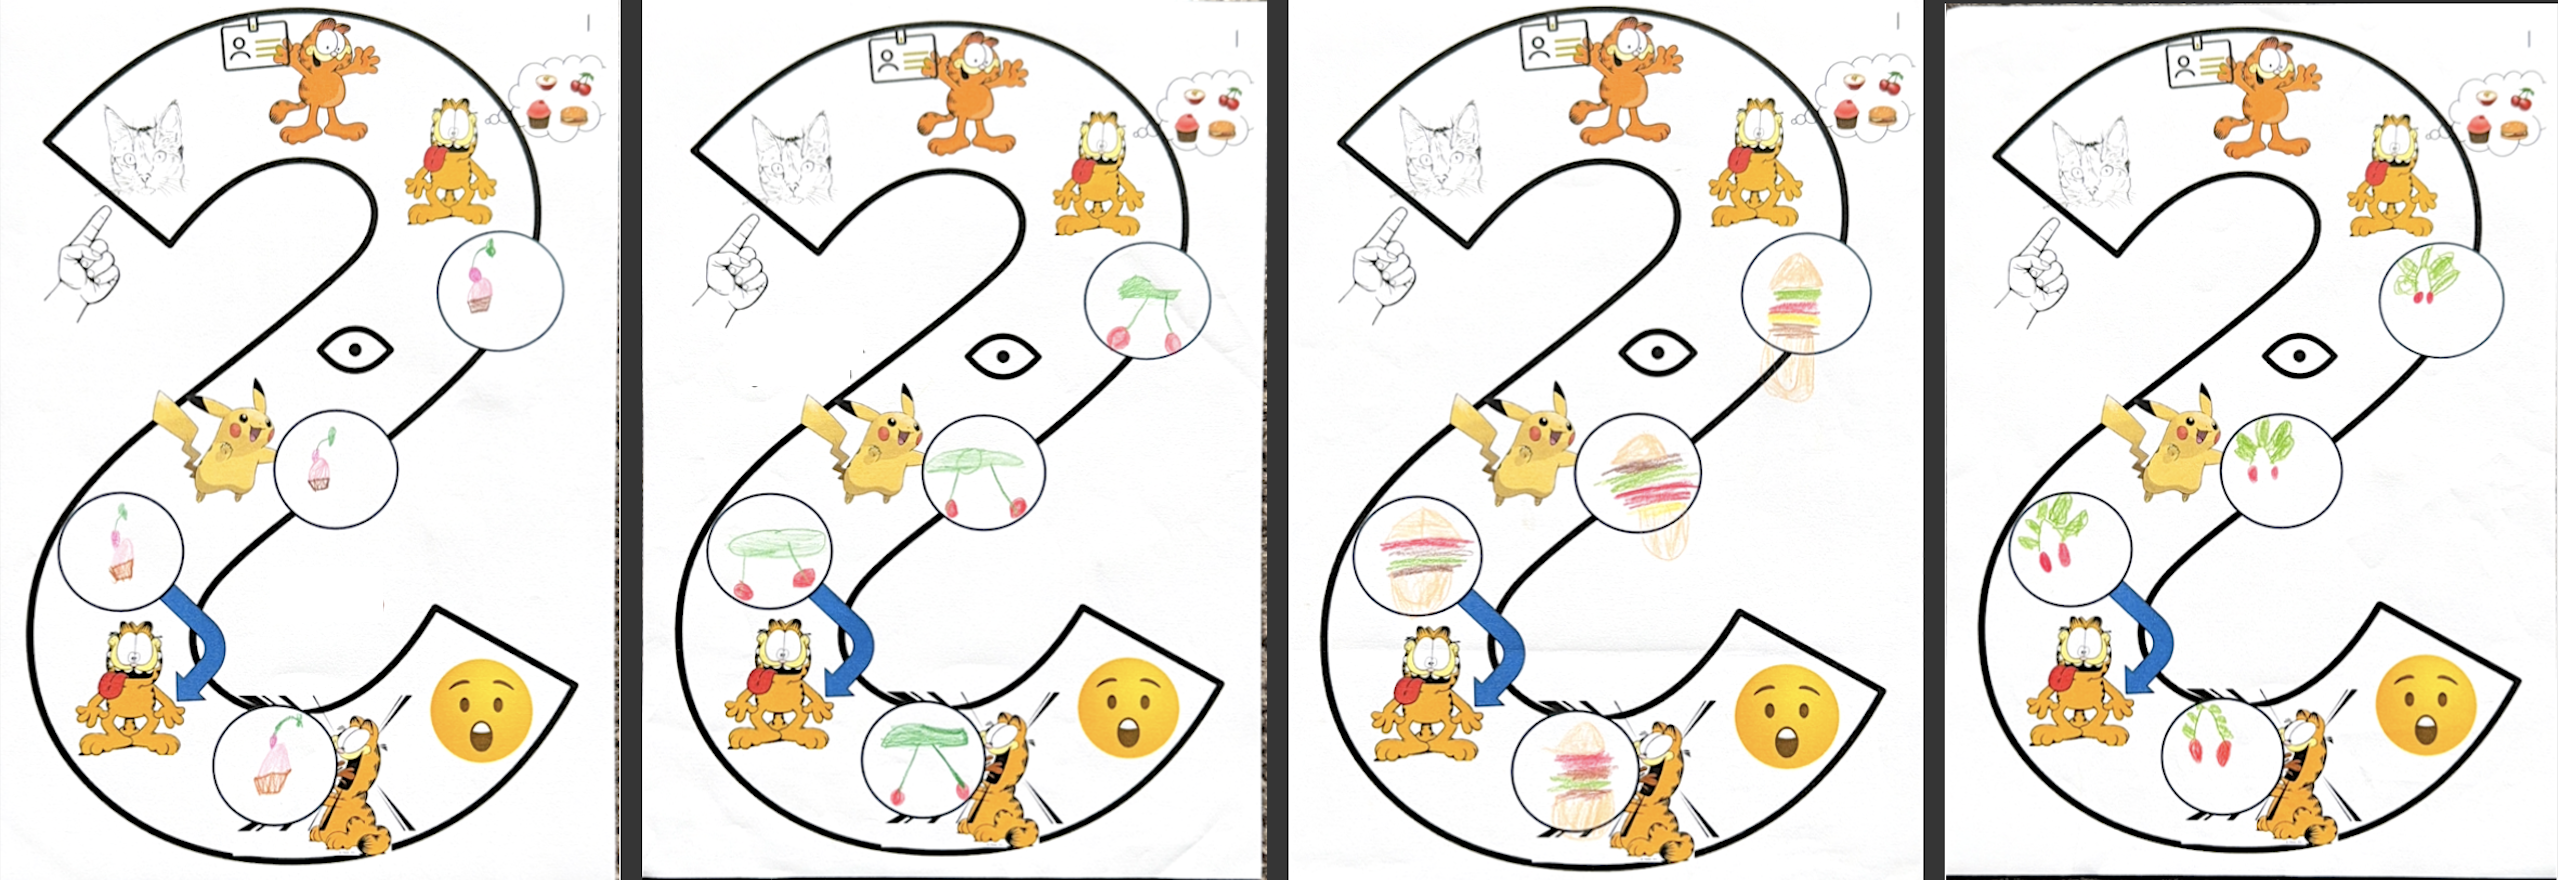
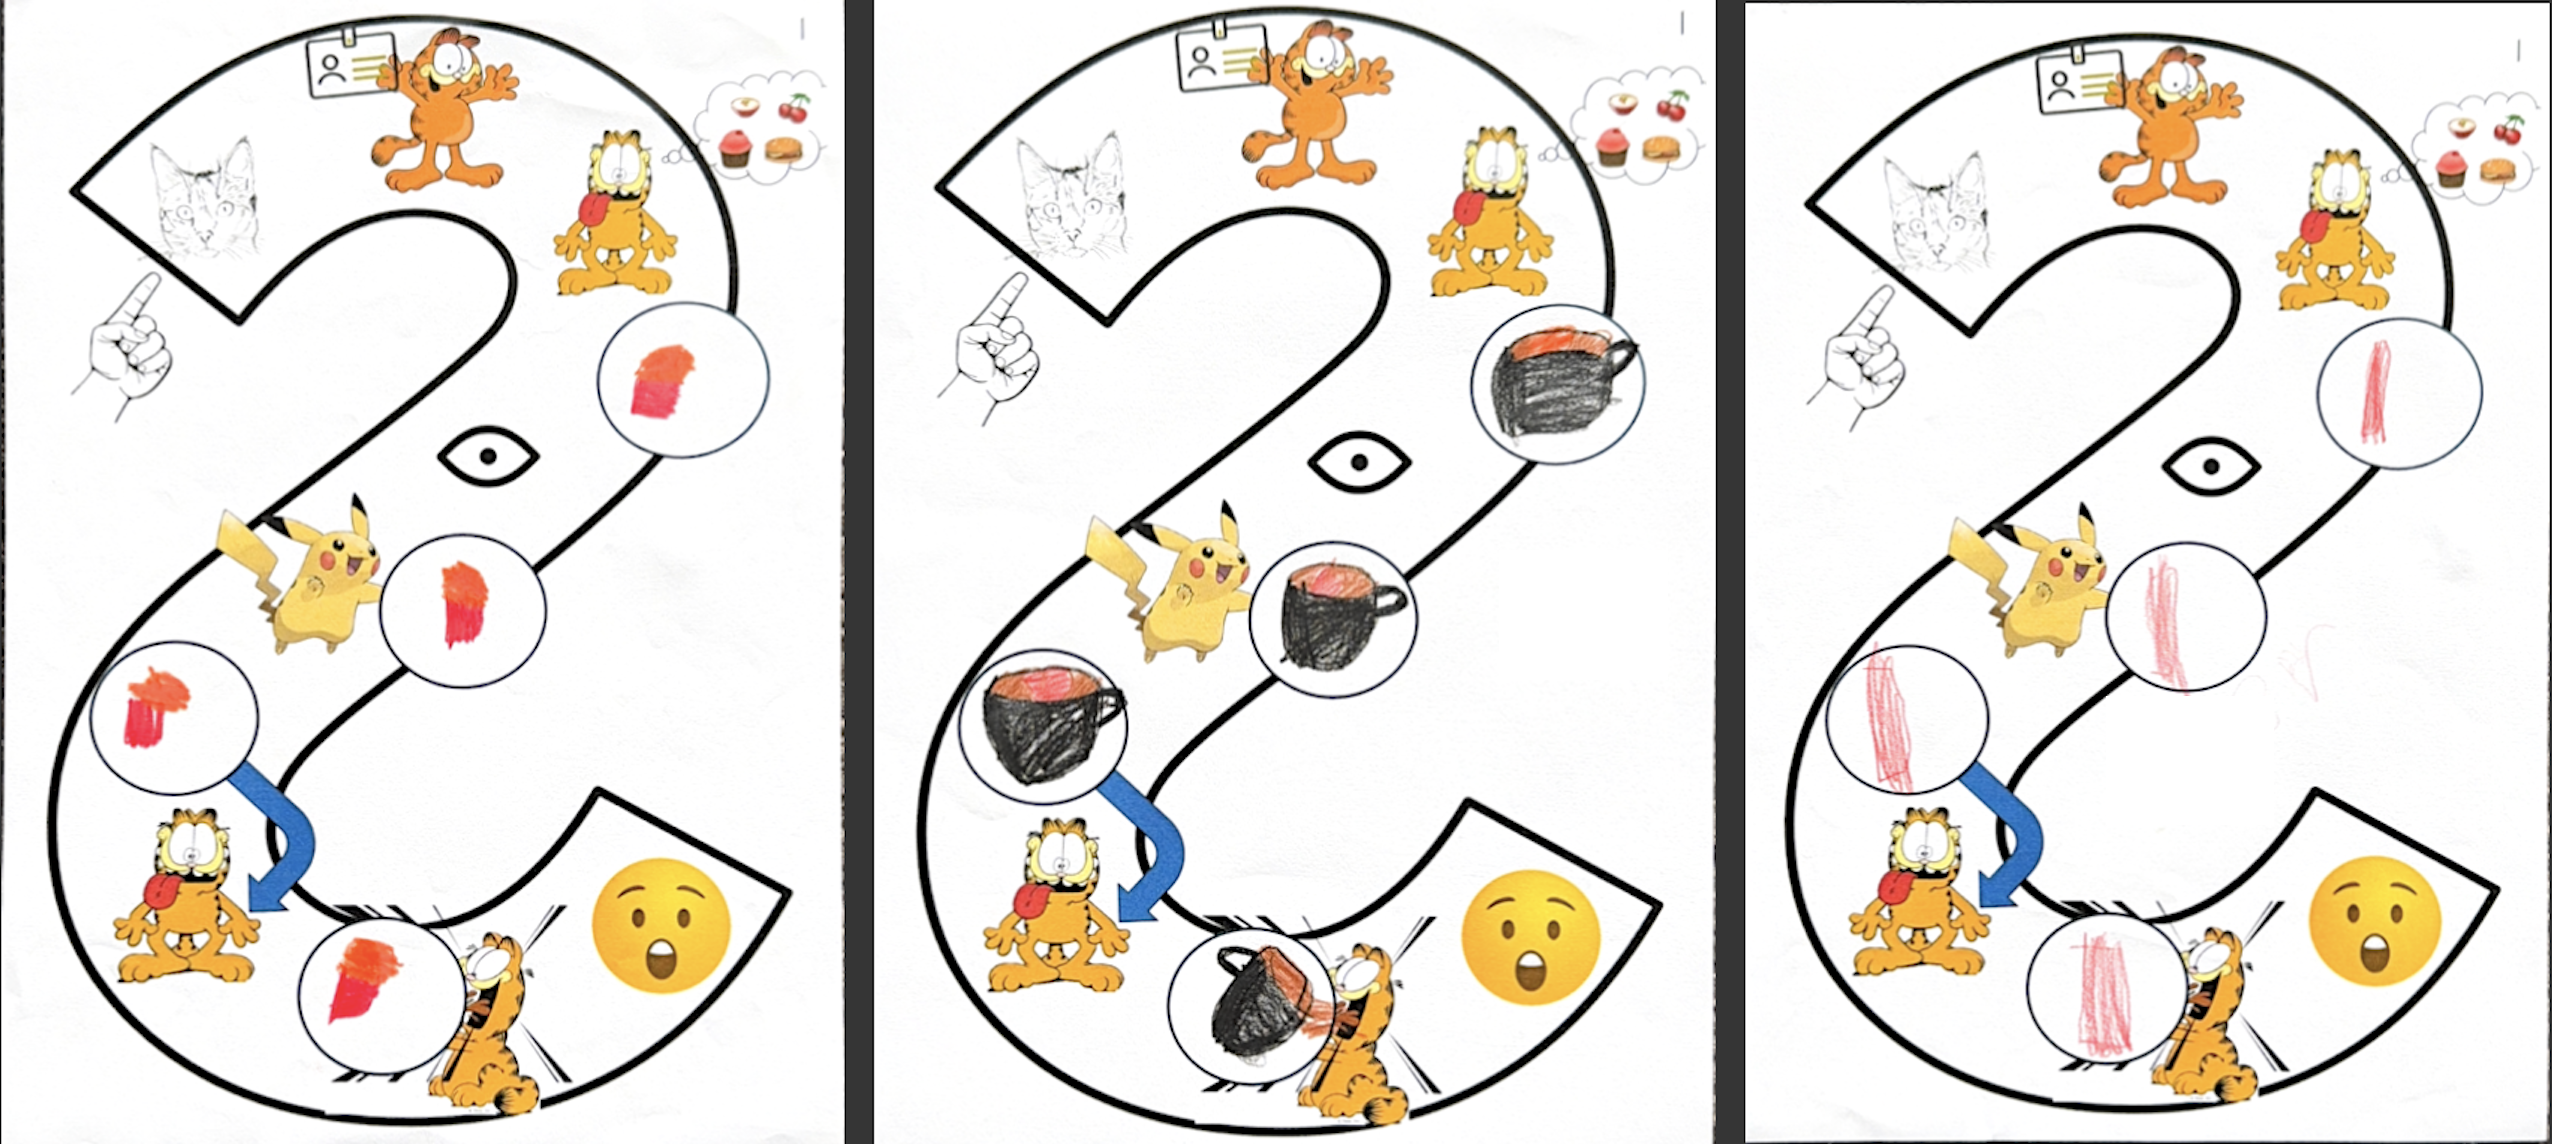
Aren’t the illustrations gorgeous? I love that some of them food illustrations are puzzling however as they are only for the creator, all that matters is that the illustrator can identify their illustration during the retell that follows the task completion! Here I encourage students to maximise their lesson time reading and re-reading this story to themselves during this lesson in preparation for next lesson when they will be recording themselves reading the story independently.

In Lesson 7, students will complete an assessment task whereby they will read either their created story or the class story (student choice) while recording themselves on a device. If not recording their face, remind students to begin with their name and class for future reference!! Some students will inevitably struggle with this task and need support however, those who complete it independently, must on completion, complete a silent activity (FVR, DEAR, colour by number) with the emphasis on silent so as not to drown out those still on task.
A video clip of a paralell story can be shown as everyone finishes up and moves to the front of the room in preparation for the lesson to continue.

Here is a few sound bite of a 5 year old student’s retell assessment:


Inevitably, there will be several students who for a multitude of reasons were either absent or did not complete the assessment task the previous week, so lesson 8 offers them time to rectify this and as would have been done in the previous lesson, before beginning the task, invite students to join in the choral reading of the story several times as a class before inviting students who have completed the assessment task, to read it independently for all to enjoy.
Then to celebrate the end of the assessment, play a post story game, Duplo. This is always a winner with my students and not only does it offer multiple opportunities for story reps but it also encourages discriminating listening. Students sit in a circle with a huge pile of Duplo pieces (or other brands of connecting large blocks) in the centre. Students listen carefully to the teacher retelling the story sequentially. If the sentence told by the teacher is incorrect, they cannot touch the duplo. Instead we together discuss why the sentence was incorrect and ask students to offer the correct sentence. When the sentence is correct, students may each take one piece of Duplo. I love this game because by the time students have more than a few pieces of Duplo, they enjoy listening while their hands are busy creating using the Duplo. This game is also the perfect opportunity to talk about kindness, sharing and accepting compliments.

With the end of term, Lesson 9 and 10 focus on editing and illustrating mini booklets of the class story. Each student receives a mini booklet and at the end of week 10, are encouraged to take the mini booklet home to read it to as many people as possible, plus their pets, any garden statues and a tree in their garden! These booklets offer learners opportunities to demonstrate their awesome Indonesian proficiency to impressed family members and also for MORE input during the holidays!
Before they start illustrating the booklet, they will be instructed to write their name on every page wherever there is a blank line. This gives them practice writing their name and in doing so, makes them the star of their story!! Once this is completed, students illustrate each page with each illustration matching the text. This doesn’t take up the whole lesson unless the students are exhausted and anything else is beyond them. Otherwise, games like Siapa Nama? (guessing who is under the sarong?) or senam penguin are my students goto favourites.


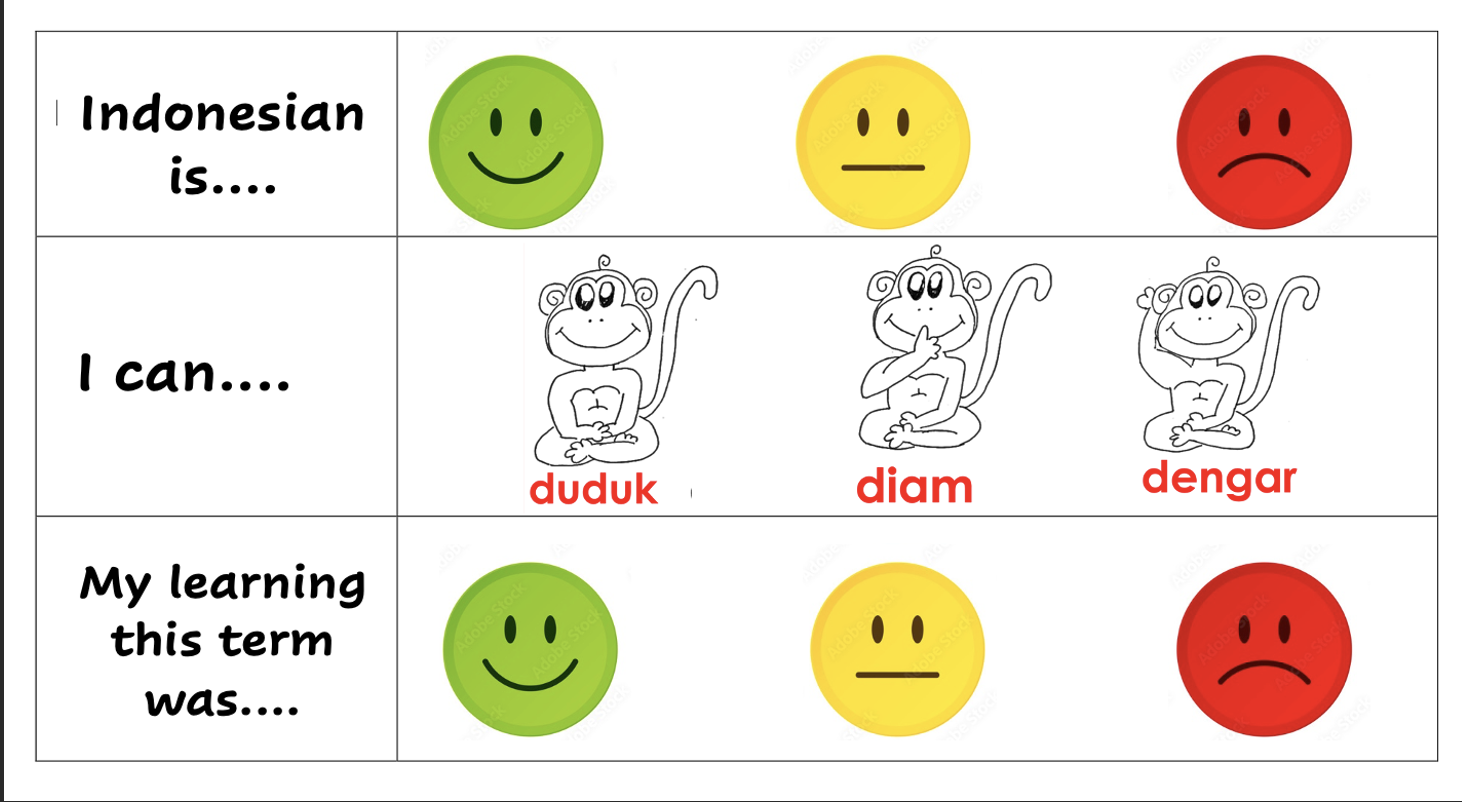
A student self reflection survey is a good way to finish the term. It is a tricky concept for preliterates who find it challenging to reflect back over the term. Consequently, I usually only set a few questions which we read together and they ‘respond’ by colouring either a happy emoji, a ‘lumayan’ (ok) emoji or a kurang baik (sad) emoji. The hardest concept to explain though is that there is no right or wrong answer unless you are copying your friends sheet!
I really hope this post has been helpful although, I am horrified at how long it is!! Kudos to all who made it this far!!
Please drop me a comment if there is anything that needs a clearer explanation or if I have skipped something totally!! I do have a week by week term outline for this story which I am happy to share with anyone who would like a copy! Either email me, message me through facebook or comment below!!


Picture Talk…….


What is a Picture Talk?

In a nutshell, ‘picture talk’ is using an image to maximise repetitions on a target structure.

The success of picture talk relies both on the image itself and the questions asked. A truly compelling image is one that is quirky, and offers opportunities to use the target structure in both statements and questions.

Read to the end to find links to demo videos, blog posts and more…

How To Set Up a Picture Talk?

Picture Talk #1

A picture talk can be simply an image which is shown to students to generate scaffolded and fully comprehensible discussions that either introduce a target structure &/or to get repetitions on the target structure. For preliterate learners, when introducing a target structure, relying on ‘point & pause’ is often not a viable option. Picture Talks are super helpful for overcoming this when working with preliterate learners.

Picture Talk #2

Another successful way to set up a picture talk is to cover the cognate in the image. To what extent, you cover the cognate, will depend on your learners. If the covered cognate is ambiguous, I like to leave a bit of the image showing as a hint. Covering up the cognate opens it up for student contributions which can then be restated as repetitions incorporating the target structure.

Targeting the verb ‘eat’, using the image below of Bluey eating, you could ask…..

1. What is Bluey eating?

2. Bluey is eating………(pause)?

3. Bluey is eating a taco (or substitute with another cognate)?

4. Is Bluey eating a taco or an ice cream?

The number of questions you ask will depend on a million factors including the cohort, the time of day etc. When ready, you simply remove the image and restate the sentence using the target structure!!
Input, input, input for the win!
I do this in PowerPoint as it is so easy to insert and then fade out each shape. Covering the cognate is so popular with young learners and gives them such a huge confidence boost when they guess correctly the hidden cognate.

Picture Talk # 3

Recently I discovered the image below on one of the Bluey Facebook groups for adults! It has so much potential for another way to picture talk!
It would be so easy to create this format using 4 well known characters and 4 cognates that relate easily to the target structure. The cognates (written in the target language) could be true answers, they could be totally unknown or could be focusing on the negative only. With older students, I would encourage the use of the ‘maybe’ (in Indonesian ‘mungkin’) and/or, again depending on the cohort, ‘not possible’ (in Indonesian ‘tidak mungkin) when commenting on the contributions of their peers.


Would love to hear Picture Talk works for you in your context!
Comment below and share your experiences and ideas!!


A huge, huge thank you to Moya for sharing this amazing link (see below)! It contains significantly more detail, links to YouTube demo videos plus so much more.

Enjoy….

Kawai Resources.com

The Unfair Game

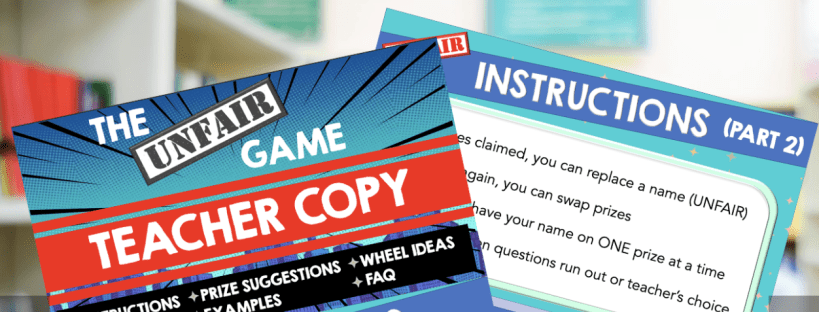
Going through my overflowing inbox, I discovered an email from Kenny’s Classroom with information about the Unfair Game. If you follow the link, you will be find details on how to access free instructions and an editable template. The reason I am sharing this with you is because I have tried this several times with little success and now I realise why.

The secret is the whacky prize pool. I had no idea just how important this is until I reflected upon why the Unfair Game went so spectacularly badly with a previous year 8 class. I set the students up in teams who then had to compete for points. Unfortunately this over competitive cohort totally burned me so badly I moved the powerpoint to a folder on my hard drive, with no intention of ever opening it again. Now after reading these instructions, I can see where I went wrong…..

Students love the unexpected! What teenager wouldn’t get a kick out of quirky prizes!! Have a look at these suggestions:

Genius isn’t it? This would work with all levels; from junior primary to secondary! It just might be the perfect activity for an end of term activity full of sneaky repetitions, a relief day or just because!!

2022 MLTA NSW Conference – Memory

Have you realised how much I enjoy Languages education research? I consider myself incredibly fortunate to have had the opportunity to begin my Masters of Education; Languages fulltime as it gave me time to broaden my understandings of language learning and teaching. I am also incredibly thankful that I studied simultaneously with a wonderful TCI/TPRS colleague, Bu Heather, as it allowed us to discuss various aspects of Languages research from a TCI/TPRS perspective.

Yesterday I attended the 2022 MLTA NSW conference with one of my brilliant colleagues, Bu Asti. We were delighted to hear Steve Smith speak. I first heard him talking on Liam Printer’s The Motivated Classroom podcast. I highly recommend listening to Liam’s podcasts– they contain a great balance of research and practical ideas for language teachers working with middle primary aged students and above. Can you imagine how ecstatic I was when Steve Smith began his webinar by introducing us to memory research and how it applies to Languages!

Staying on top of research requires not only considerable time but also a certain headset. In this post, I will focus generally on outlining how memory works through teasing out iconic research, some of which dates back to 1885! I hope while reading this, you can reflect on your own teaching practise to determine the extent your practice aligns with accepted understandings of memory.

This post attempts to explore aspects of the research Steve discussed in his webinar. I have found memory research so useful and I wished I had known more about it earlier in my teaching career. I have expanded on several of the points Steve made using either the book ‘Cognitive Psychology and Instruction’ (Bruning, Schraw & Norby. 2011) or relevant SLA (Second Language Acquisition) research. I hope this post is readable and most of all, helps you understand why informed practice leads to sucessful learning!

 Steve Smith has taught French in the UK for 30+ years. He has co-authored several books with Gianfranco Conti, one of which is “Memory; What Every Language Teacher Should Know’ ($45.54 on Amazon). What a great title! Here he is with his wife talking briefly about this book.

Ebbinghaus

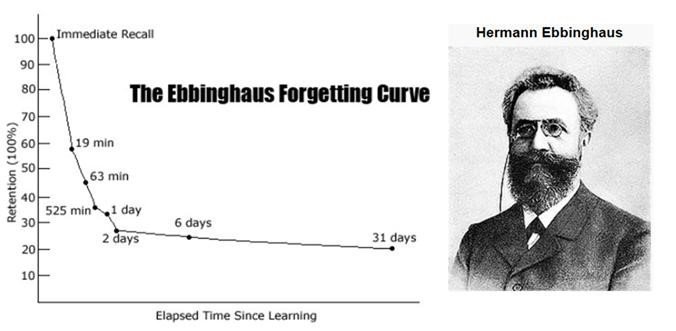
Steven began the webinar by explaining Ebbinghaus’ Forgetting Curve which illustrates how quickly newly introduced information fades over time. Isn’t it astouding!

Ebbinghaus also hypothesised on the link between stress and remembering; something I think we would all agree with. Removing stress from learning is imperative. For many students, speaking/writing (output) can be stressful. For me, as a new learner, speaking in the target language produces an instant memory blank! Stephen Krashen‘s theory of second language acquisition is based on five hypotheses; one of which is the Affective Filter Hypothesis.  This hypothesis states that several factors including low motivation, low self-esteem, anxiety, introversion, and inhibition impact on acquisition. Thus, the ideal state for language learning is when the affective filter is so low that learners are completely unaware that they are immersed in the target language.

For language teachers, being aware of Ebbinghaus’ research is critical. To avoid new vocabulary fading, fast, quirky repetitions will significantly help to delay the ‘decay’. In a TCI/TPRS lesson, this can be achieved through numerous comprehensible questions and answers in the target language to incorporate the target structure in ways that appeal to and/or are meaningful to the learners. With my young learners, I love doing this with quirky images of cognates that faciliatate discussion incorporating the target structure.

Knowledge

Steven then outlined the two types of knowledge; explicit (declarative) and implicit (procedural) and how each leads to either language learning or language acquisition. Explicit knowledge is that which is learned explicitly e.g. the rule i before e except after e. Implicit knowledge is that which we learned unconsciously e.g. the specific order of adjectives for English. Steven then asked us if declarative knowledge can become procedural knowledge, i.e. will explicitly teaching grammar rules help students communicate in the target language? To answer this question, I encourage you to try this: speak in your first language without using the letter ‘a’. Try it for a few seconds and then reflect on the hard work your brain did to achieve that!! Stephen Krashen’s Monitor Hypothesis explains that learning rules explicitly creates an ‘editor’ which monitors output through planning, editing, and correcting. It made your output considerably more onerous, doesn’t it? Could you feel your brain planning, editing and correcting while speaking? Thus, implicit learning ie, listening to comprehensible target language will lead to acquisition whereas teaching language rules is only necessary for language learning. Through understanding the difference between explicit and implicit teaching, we can determine if our main teaching goal as a language teacher is building proficiency or building knowledge! Both have value, but the balance is heavily weighted towards implicit teaching if proficiency is the goal.

Memory Models

The scientific study of memory began with Ebbinghaus (1850-1909). While no one yet knows precisely how the brain stores memory, most memory researchers agree on several points:

  • Working Memory and Long Term Memory are separate systems.
  • Attention is extremely limited. The mental energy necessary for thinking and understanding is huge and overloading working memory will impact learning.
  • Cognition includes both automaticity and controlled processing (implicit/explicit).
  • Processing information is influenced by many factors including prior knowledge, context, emotional state etc.

Memory models vary in many ways. Consider the following model:

Atkinson & Shiffrin, 1968

The modal memory model (see image above) is easily the most commonly understood model of memory. There are significant variations between models yet all agree that the dotpoints outlined earlier are vital for planning and teaching. I believe they should underpin all our teaching and if we do not understand or implement the research findings, we are likely failing our students.  
Blunt but true!

Memory Understandings

Here is a summary of the research regarding the three major systems of memory (ie Sensory Memory, Working Memory and Long Term Memory). While reading the following, consider the implications for language learning:

The main systems of memory are Sensory Memory, Working Memory, and Long Term Memory. Information is first stored in Sensory Memory then moved to Working Memory where with attention, it can be cogitated upon &/or manipulated to make sense. (Remember when you spoke without using an ‘a’? That all happened in Working Memory!) Long Term Memory is where information is stored for long periods and can be retrieved consciously (explicit memory) or unconsciously (implicit memory).

1. Sensory Memory and Working Memory both have an extremely limited capacity and time limit for holding information. Miller (1956) suggests that adults can hold approximately 7 plus or minus two pieces of information in working memory. Interference, decay and new information impacts the time input remains in these two memory systems. Atkinson and Shiffrin (1971) claim that new information stays in Sensory Memory and/or Working Memory for just 15 – 30 seconds. New information can only be kept in Working Memory longer through rehearsal e.g., repeating them verbally.

2. There is are two subsystems within Working Memory that each either manage verbal or visual input, distributing the processing load equally and operating simultaneously without impacting on the other. If anything, they appear to increase the likelihood in moving information from Working Memory to Long Term Memory. Consider the value of using images and/or props when introducing target structures!

3. Teaching that fails to recognise the characteristics of Cognitive Load Theory (overloading Working Memory) results in cognitive overload. Cognitive overload is when the brain hits the wall because the brain was given too much new information with insufficient rehearsal/repetition opportunities. The implications of cognitive overload impact not only on decreased student outcomes but will also negatively impact on student motivation and engagement levels.

After outlining relevant memory research, Steven then offered many suggestions for activities that will help learners build memory. Here are a few of his ideas for building phonetic memory:

  1. Track the Sound – read a text to students who listen and count each time they hear a particular phonetic blend.
  2. Minimal Pairs – words with similar sounds (e.g. ada/apa) are used in comprehensible sentences for students to identify which one was said.
  3. Correct Transcription – provide learners with a close (text with words missing) and for each missing word, provide several answers for students to choose from. Gaps are filled in while listening to teacher read.
  4. Mind Reading – Brainstorm (retrieve) target structures and teacher writes them on the board. Teacher writes one a mini whiteboard and students choose the one they guess the teacher chose.
  5. Sentence Chaos – teacher writes a number of sentences on the board. Students in groups of three appoint a referee. The job of the referee is to read the sentences from the board in a different order. The other two take it in turns to say the sentences in the new order.

Steven recommends teaching ‘chunks’ rather than single words and states that phrases are more useful for communication and also strengthen the likelihood of retrieval. To support retrieval, he recommends using sentence builders as a ‘Do Now’ activity. I have used ‘Do now’ tasks with older classes as they keep students occupied if I am greeting students at the door or setting up for their lesson. ‘Do Nows’ are a type of warmup that helps student brains move into the flow of Indonesian. Here is a French example that Steve shared (apologies to the fellow sitting in front!). For this task, Steve instructs students to work with a partner to create sentences using the ‘chunks’ in the grid. They can add or change one or two new details or change the tense.

If you are interested in further ideas for retrieval practice, check out here episode 6 from Liam Printer’s podcast titled ‘Retrieval Practice: 11 zero-prep strategies for an engaged classroom’.

Once again, a huge thankyou to the wonderful MLTA NSW committee for delivering a fabulous conference with quality local presenters (shout out to Katherine Brownlee) and international presenters.

If you too enjoy research and would like to chat about something you’ve either discovered or read about in this post, don’t hesitate to get in touch!

2021 Reflection

Going through the Indonesian iPad yesterday before handing it back brought back so many memories of my year at KAS. I’d really like to share a few with you!

In first term, I did the ‘Murid Nakal’ story with middle primary. I absolutely love this story – great for acting and also perfect for reviewing behaviour management structures in the target language! I did change the ending this year because being at a new school and not knowing the staff or community, wanted to avoid recrimination for using a story that includes smacking! My 2021 version changed the hitting to push ups which worked but was nowhere near as funny! Here are some pictures of a lesson where we used Martina’s freeze frame idea.

In term 2, the next story middle primary did was the Tutup Pintu story. The students absolutely loved acting with the wigs my daughter gave me. Acting out the story is enjoyable as it not only provides the students with the opportunity to create their own class version but also gives the more outgoing students a chance to be outrageous which is extremely entertaining. In fact, being entertaining is one of my criteria that any student auditioning must demonstrate. Other criteria include following the storyline exactly as it is determined by the class and only speaking when your character has a line. Here are some of my amazing actors:

Year 6/7 Movie Talk – Hadiah

Year 5/6 Movie Talk – Hadiah

Year 4/5 Tutup Mulut

Year 3/4 Tutup Mulut
Year 2/3 Tutup Mulut

Kursi Luar Biasa

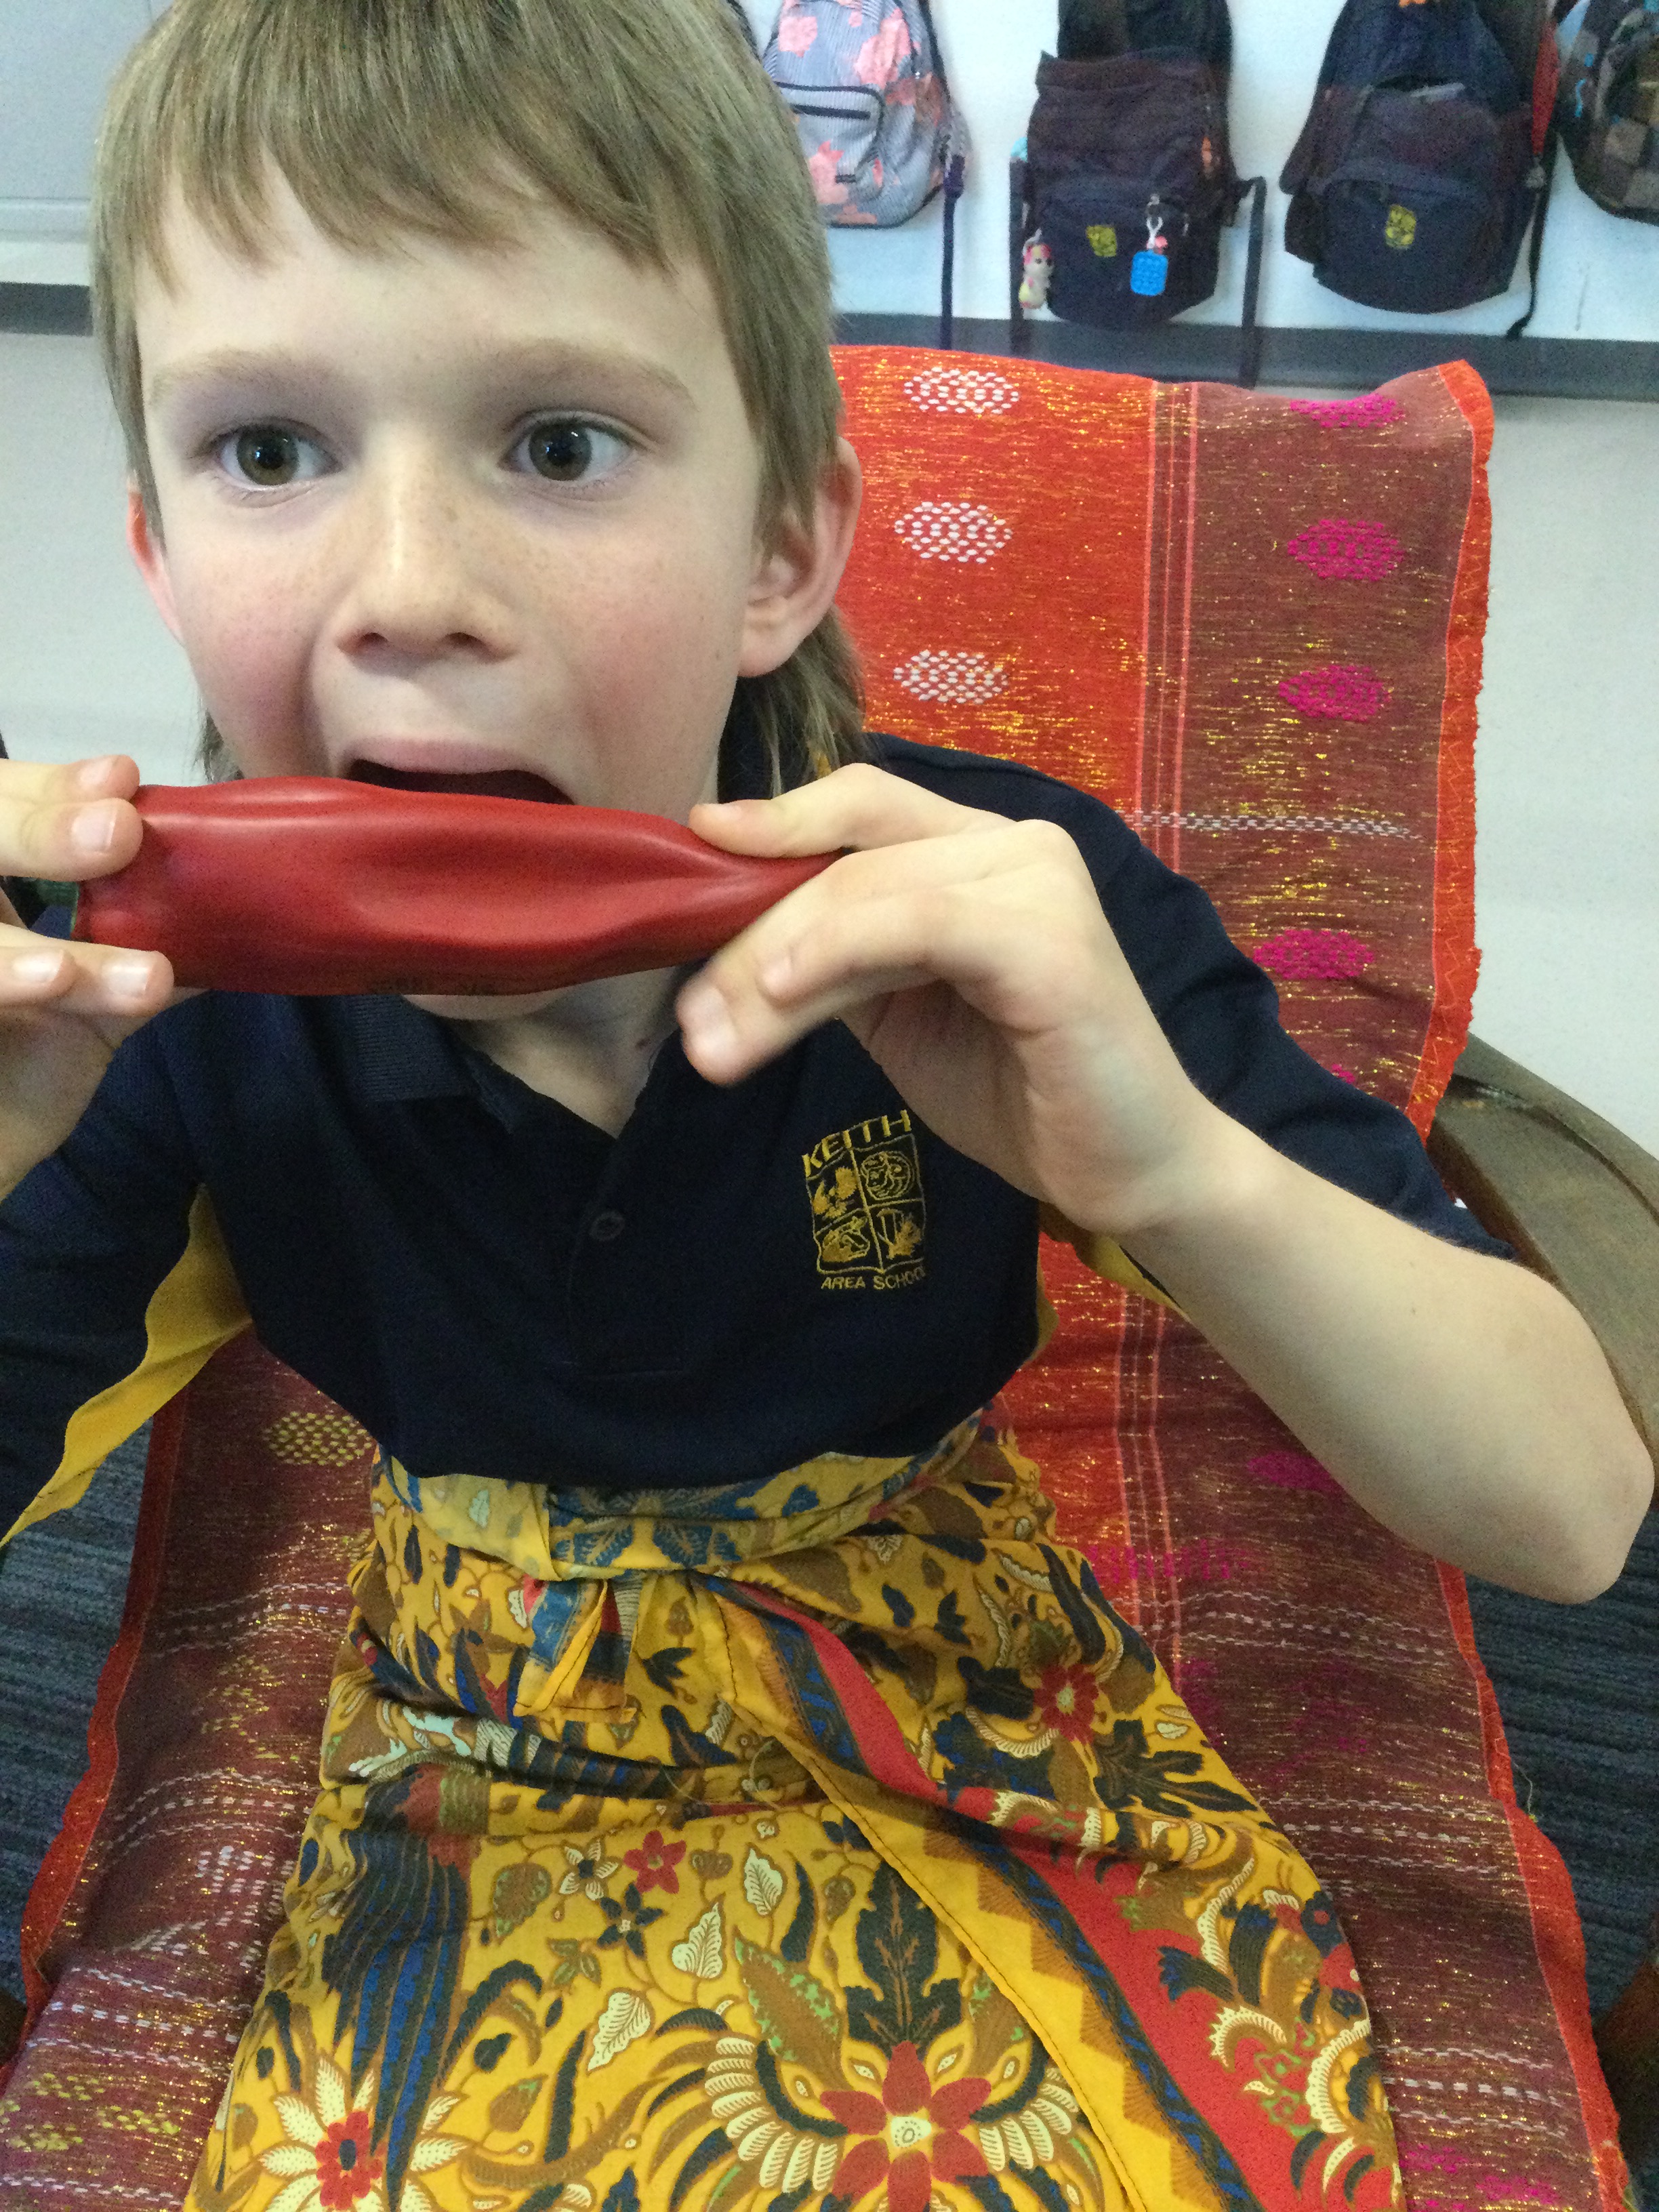
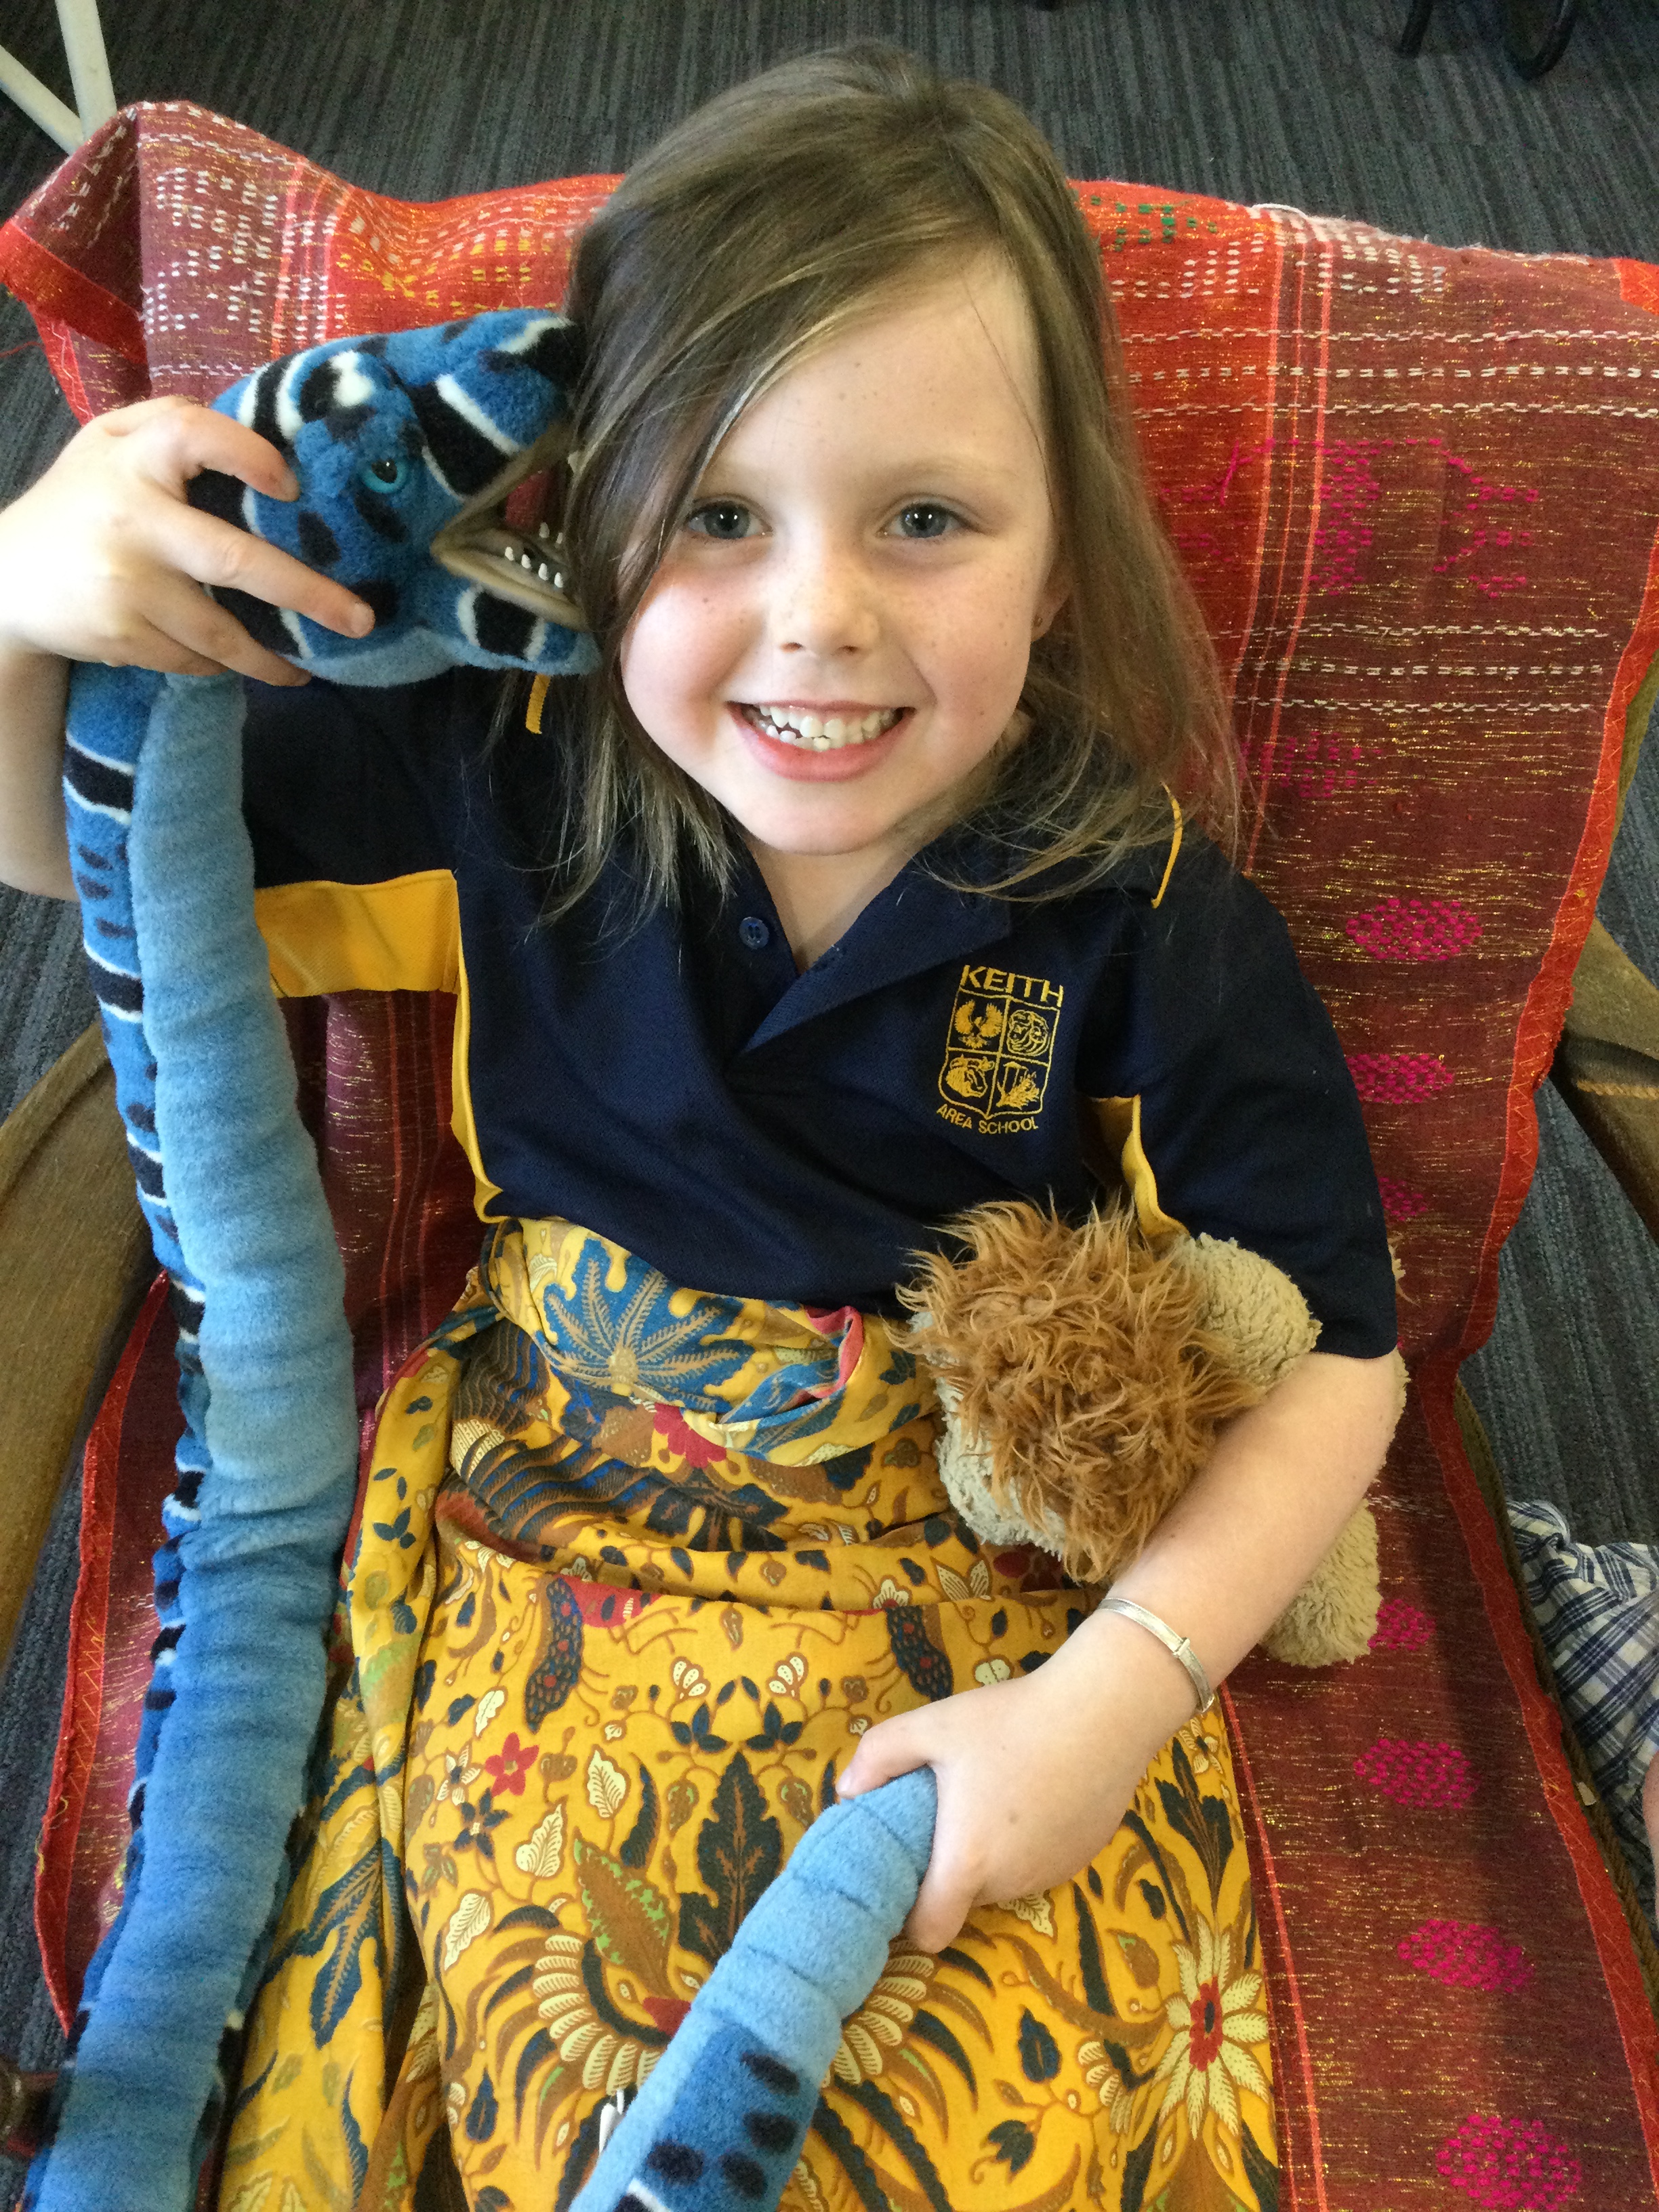
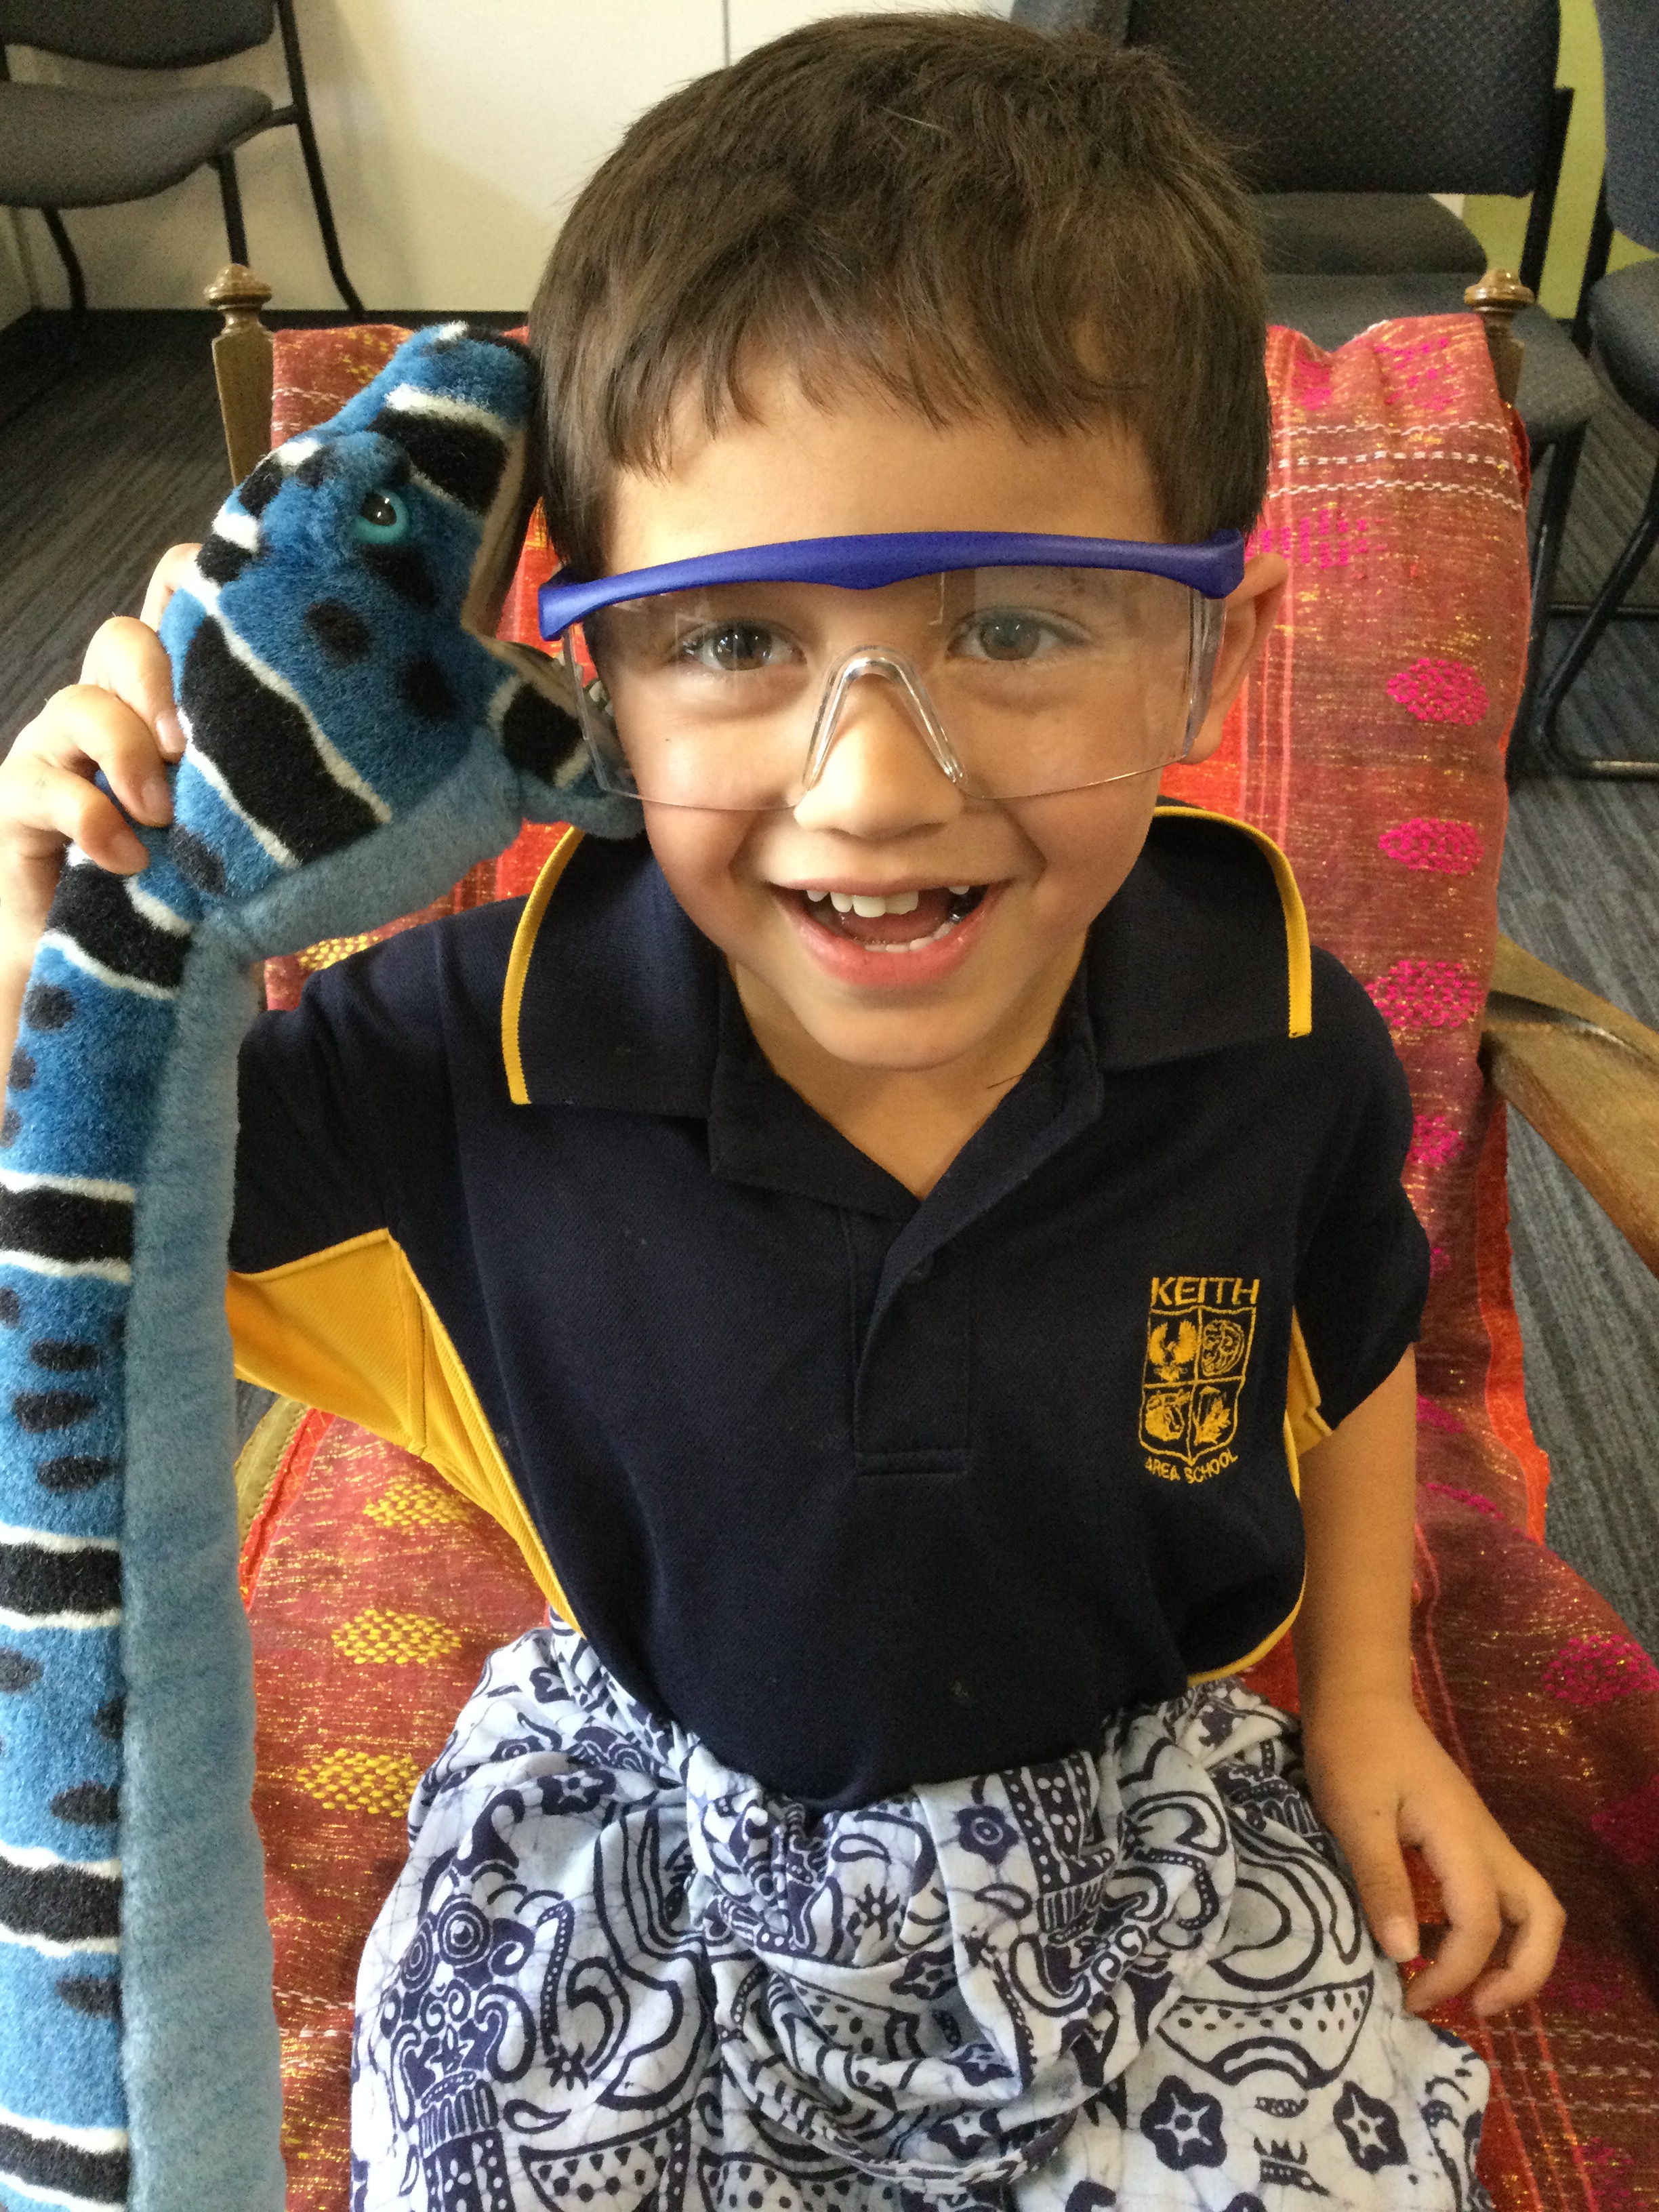
All year levels love KLB! I’ve particularly had success this year with JP classes. It is the perfect vehicle to spotlight one student with quirky questions using target structures. This term they did Catharina’s Ular story, so I enjoyed asking students ‘mau’ sentences incorporating ‘ular’ , ‘atau’ and alternatives based on previous story structures or cognates. I have two snake props, so students could choose between ular besar dan ular cobra! Another question that worked this term was introducing the concept of sarong. This provided discussion about the difference between sarongs for males/females. To begin, I just asked if students , “Mau pakai sarong laki-laki atau sarong perempuan?” After a few weeks, I added the question, “Mau pakai sarong ungu atau sarong kuning?” Great way to limited colours in a meaningful way. I then added the alternative of glasses. “Mau pakai sarong atau kaca mata?” While ‘kaca mata’ is not a cognate, I chose it because not only do I have a selection of different colours but as someone who was embarrassed to wear my glasses at school, I love ways to connect with those students who also wear them!! In the last photo, you’ll notice a Foundation student wearing a sarong and a pair of glasses. He answered my question with, “sarong DAN kaca mata!!” I was thrilled!!

Snap Camera Magic

Thanks to Senora Anna (aka Ibu Anne ), I recently discovered the lure of Snap Camera. I absolutely love it. Not only is this a platform that has enormous potential for creating quirky videos and images; it is also the perfect place to visit if you need a laugh. I challenge you to check out a few of the unusual ways you can alter your face and not crack a smile!

I whole heartedly believe in the potential benefits of flipped learning; where student learning continues out of the classroom. Flipped learning offers bonus input for language learners as it can be accessed whenever the learner chooses and in ways that best suits their own learning. For my students, I prefer to create videos and upload them to my YouTube channel for students to watch either with their class teacher or by themselves after school. I like that videos can be stopped, replayed or slowed down by the learners. Videos also give the opportunity for input to be delivered both aurally and visually.

Creating videos is fun but also confronting for me because while I love creating videos, I find it challenging speaking facing into a camera! I understand that for my students, my familiar face and voice lowers their affective filter, however up until discovering Snap Camera, my inner critical voice generally found a reason to avoid this. If you look through my videos, you’ll quickly see that my older videos have me firmly behind the camera!

However, Snap Camera is so quirky that being in front of the camera is no longer a major hurdle. How can something so quirky and appealing to learners, not be maximised? Just opening Snap Camera and exploring some of the options will consistently put a smile on your face as it does for me because it is a platform that has many options to ‘enhance’ or totally alter our appearance and/or background. These options range from the sublime to the ridiculous and it is the latter which are the most entertaining.

If I have tempted you to experiment with Snap Camera, the first thing to do is download and install it.

Once installed, either type something into the search bar that could be either easily recognised by your learners &/or is a cognate. I have discovered all sorts of quirky characters ranging from biscuits to Spiderman!

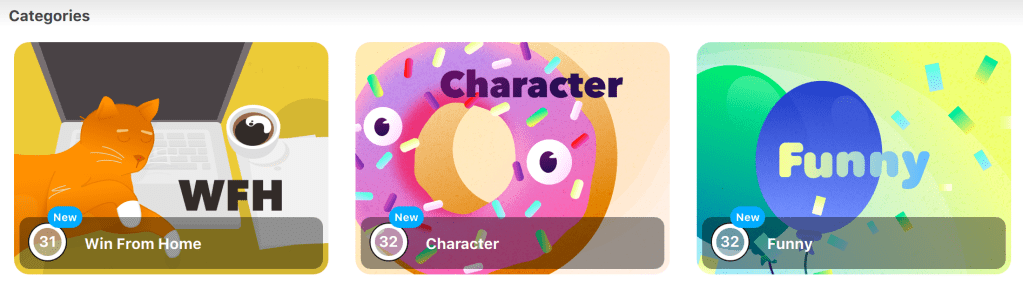
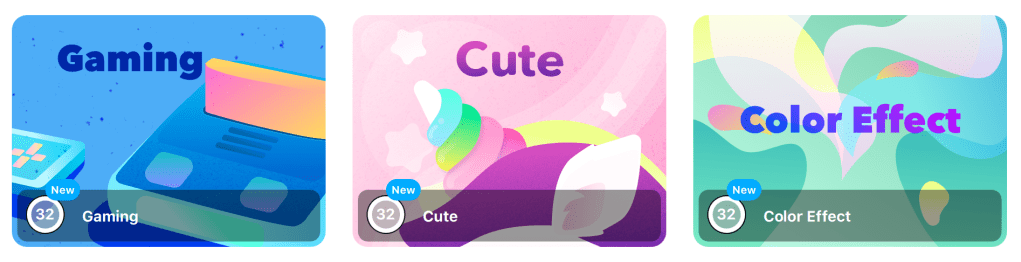
Or choose an option from one of the following categories:

This will certainly put a smile on your dial!

An added bonus is when you have snap camera and Zoom open at the same time, your Snap Camera image will carry through to your Zoom meeting! I’ve gathered from facebook posts that Zoom isn’t the only platform that supports Snap Camera, so experiment with which ever platforms you are using. Share the quirkiness and help distract others momentarily from the craziness of 2020.

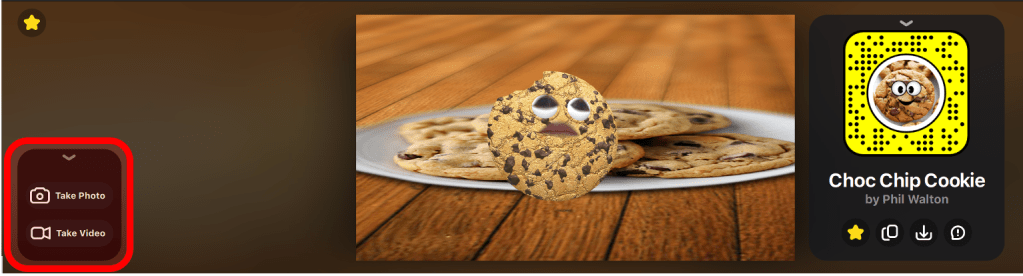
Below are two videos I made recently for my junior primary students. Both target TPR recent structures including melompat (jump), cepat (fast) and pelan (slow). They were recorded directly into Snap Camera which is super easy to access (see red box below).

I really like that you can delete or save immediately after recording as can be seen above.

Shrinking Summaries & Dictogloss

Last holidays, I joined a class of (primary) Indonesian teachers for beginner Spanish lessons with the amazing Margarita Perez Garcia. We all shared a single aim from these lessons; to improve our own teaching practise through experiencing TPRS as learners. This was achieved while learning a totally new language (ie getting a a glimpse of the issues our own students experience) as well as gaining a deeper understanding of TPRS . Probably the single main point we all appreciated was that you can never hear target structure repetitions enough; every time Margarita circled, we lapped it up like thirsty animals at a pool of water.

This term I trialled several of the activities Margarita did with us. Two that worked incredibly well for middle primary students and totally complemented each other were ‘shrinking summary’ and ‘dictogloss’.

One thing Margarita emphasised was the power of reading. To use the class created story for reading whenever possible. Facilitating reading and rereading of the class story provides opportunities for bonus repetitions of not only vocabulary, but also grammar, word order, spelling etc. The benefits are endless for implicit learning through subtle teaching!! I began the lesson with a reading technique Margarita did with our class; the teacher reads out loud the story and whenever he/she stops at a word, the class say the next word. This was a great way of keeping their eyes glued to the text up on the screen because they had no idea where I was going to stop while also increasing their familiarity with their story’ written features.

Next using the grouping option on Class Dojo (how I love this tool), I paired the students up randomly. Each pair then was given a piece of paper and a pencil and together they had to identify 5 ONLY sentences from the projected story that could stand alone to summarise their story. These were then written them down on their sheet of paper exactly as they appeared on the screen. I encouraged pairs to work together; one reading and one writing.

From that, each pair next had to create and write ONE five word sentence to summarise the five sentences they had chosen before finishing off with pairs choosing one word from the sentence that in itself summarises the story. Thus pairs would finish with five sentences, one sentence and then finally one single word, each representing a shrinking summary! My 3/4 classes found this task incredibly challenging, especially those students with developing literacy skills. Thankfully the random pair generator tool on Class Dojo largely resulted in splitting up students of equal literacy skills. For the odd one that was not paired up with a more confident reader/writer, I was able to support them however they needed.

Dictogloss beautifully follows on from the creation of a shrinking summary because it requires students to retell the story. I created a grid of 6 squares, aiming to get six main story events. This worked out perfectly because it meant that students could draw upon the five sentences from their summary. Had I done this cold, ie without a recent shrinking summary process, I have no doubt my year 3/4’s would have baulked at a task such as this. In doing it this way, it differentiated beautifully. The majority of the class could draw upon the sentences we had focused on in the previous lesson while the ‘4 percenters’ had the opportunity to offer up extra details. If you look at the photo below, you can see that every student has a grid and a student is sitting at the computer. I had planned to write the story out myself on the board, but instead I impulsively asked my ‘tukang Komputer’ firstly if they wanted to do the typing and each one delightedly accepted. The beauty of this was that it freed me up to wander around the class while eliciting responses. It also provided an added bonus for a focus on spelling, punctuation and word order. AND, it also slowed me right down!!

Here is one created by a class tukang komputer. Note the ending! This was not the original class created ending! It came about through this task! I’ve just noticed the ‘s at the end!! Oops; a missed opportunity!!

Kursi Luar Biasa for Junior Primary

It has just occurred to me that I have only posted about how Kursi Luar Biasa works in middle primary and upper primary classes. I also use it successfully with very young students in a much simpler format. I initially began incorporating it into my younger classes for several reasons and they are threefold: to introduce the concept of a special chair for a special person, to introduce the language ‘kursi’ + ‘luar biasa’ and as a sneaky yet compelling way to review target structures! The exclamation ‘luar biasa’ (awesome) is such a positive one that it is beaut that students are provided with the opportunity to hear it repetitively in their first year of school. It is also useful that the word for a common item of classroom furniture (kursi/chair) is introduced at this point too. Having a Kursi Luar Biasa also provides me with a designated ‘teachers helper’ in my classroom. As most junior primary teachers incorporate student jobs into their class routines and due to the fact that each class’s procedure & system differ, it is considerably easier for me to have my own system specifically for the Indonesian classroom.

Screen Shot 2019-02-22 at 7.15.00 am

Who wants to sit in the awesome chair?

I choose the student using my paddle pop sticks using the language, “Siapa mau duduk di Kursi Luar Biasa?” following it with a comprehension check; “Bahasa Inggris? Siapa mau duduk di Kursi Luar Biasa?” and then after a student correctly translates, reply with, “Ya!! Bagus!! John pandai. Satu poin John! Who wants to sit in the awesome chair?” I repeat the English for my reception students to ensure they hear the translation clearly. I then dramatically choose a stick. I also check that the letters KLB are not written on the stick yet (this is my record system to ensure everyone gets a go) and if all is good, I make eye contact with the student and ask, “Susie mau duduk di Kursi Luar Biasa?” Naturally ‘Susie’ will nod yes and I will restate, “Susie mau duduk di Kursi Luar Biasa!” I do not circle this with reception (prep) students because of the disappointment factor, I just repeat the sentence several times as I write KLB on ‘Susie’s’ stick before returning it to the container. At this age, young’uns are still learning to understand turn taking and I strongly believe in the importance of ‘social skills pop-ups’! When I get comments along the lines of “I haven’t had a turn.”, I answer this by asking the entire class in English, “Who hasn’t had a turn yet?”, emphasising the word yet. The beauty of this question with very young students is that they either can’t remember if they actually have had a go yet or even more likely, want to sit in the chair again so much so that they pretend they haven’t sat in it yet, and also raise their hand!  This gives me the opportunity to show the student who blurted out in English that they are not the only one who hasn’t had a go YET, and then reassure everyone that there are still plenty of  weeks left in the year and everyone will get at least one opportunity. I do it in English; both to keep it short and snappy (pop-up) but also because I strongly believe in the importance of developing social skills and the necessity for this snowballs with each yearly student intake of reception students.

Screen Shot 2019-02-22 at 7.32.32 am

The Awesome Chair: Boy or girl, Good or ok? Are you clever at running fast?

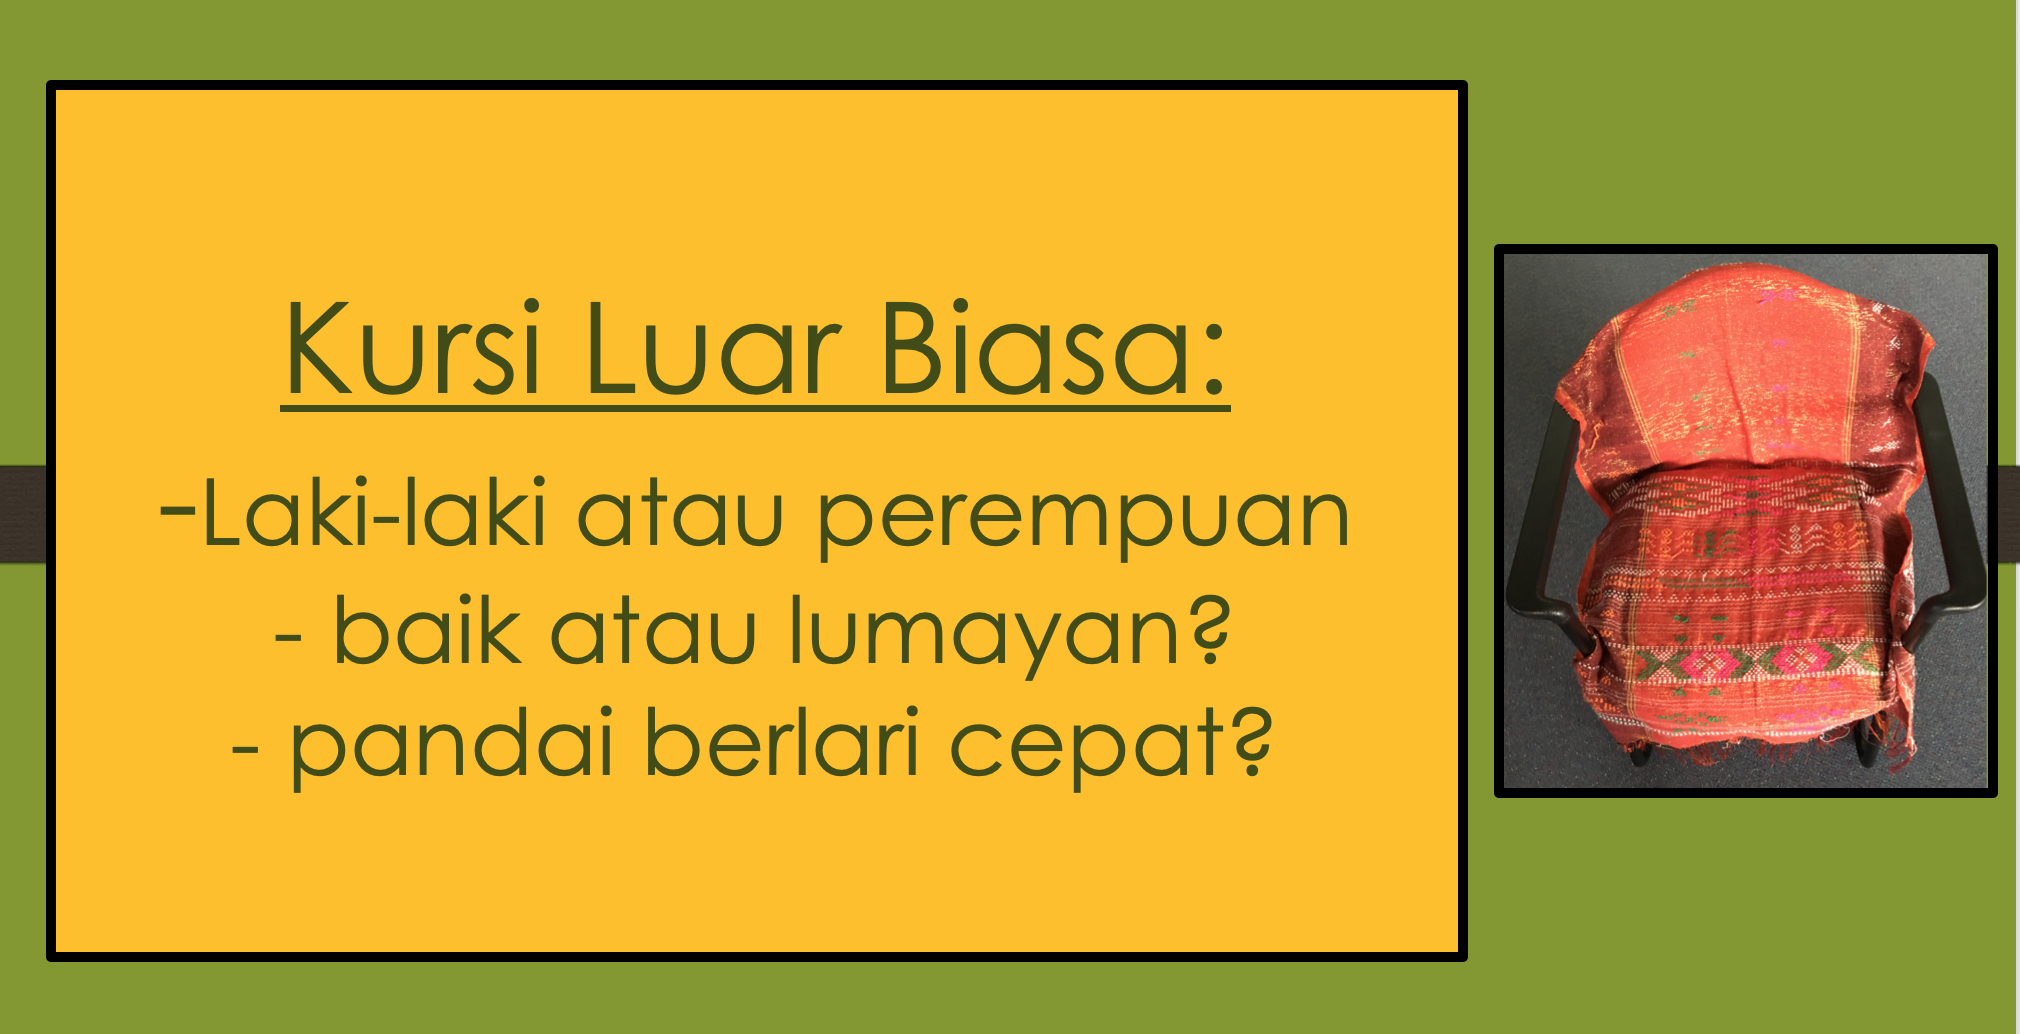
Once Susie is sitting in the Kursi Luar Biasa, I ask her a few questions based on the language structures their class has been focusing on. At the beginning of the year, the questions are simply “Susie baik baik saja atau Susie kurang baik?” & “Susie perempuan atau Susie laki laki?” With each answer (verbal &/or non verbal) I restate the answer in full. “Ya, Susie perempuan. Susie bukan laki laki.” I usually only ask 3 questions as that is as long as young students can focus. I like the final question to be quirky and incorporate the target structure. Sentences that have been successful include; “Susie mau makan hamburger?” (while holding up a huge hamburger cushion) or “Susie pandai berlari cepat?” (this awesome idea comes from Anne MacKelvie, however I highly recommend waiting till term 4 to introduce it so that you only have to race against a student for a limited number of weeks!! It’s highly compelling stuff for the students but eats into my energy reserves!) If ‘Susie’ says yes, I then wave the class back saying ‘Geser, geser’ (scoot, scoot) to create a running track along the front of the room. I gesture dramatically with my arms to ‘Susie’ saying “Ayo!” (Come here).  I then turn to ‘Susie’ and say, “Bu Cathy menghitung satu, dua, tiga. Bu Cathy berkata ‘tiga’, Susie berlari cepat ke kursi/Johnny.” (a nearby end point). I begin to count very slowly but for the first few counts, I change ‘tiga’ to a silly word. eg Satu, dua, hamburger!, satu dua Trent! Each time the student takes off I smile at them and cheekily say to them ‘nakal!’ I then count properly and pretend to run fast theatrically allowing the student to beat me. I then exclaim to the class, “Susie berlari cepat! Susie pandai berlari. Susie pandai berlari cepat.” Meanwhile ‘Susie’ is glowing with her success and struts proudly back to the Kursi Luar Biasa!

Once seated back in the Kursi Luar Biasa, ‘Susie’ takes on the role of ‘Teachers Helper’ and is my first goto person if I need help. This could be taking a message somewhere, collecting something, accompanying a student to buddy class/ the office or if we are playing a game, is automatically chosen to both demo a new game and be the first person to play!

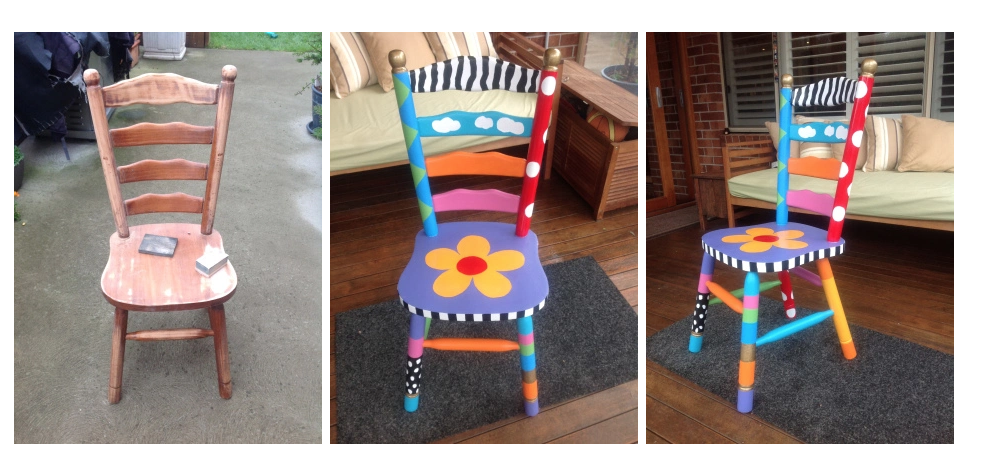
Your Kursi Luar Biasa can be as fancy or as plain as suits you and your teaching situation. I prefer to lay my Batak weaving over a comfy chair as I do not use the Kursi Luar Biasa chair in every lesson with older classes. Sometimes, there is not enough time or it just needs to have a break to prevent it getting tired & stale. The beauty for me of using an Indonesian ‘sarong’ is that it can be whipped off quickly and is then easy enough to throw back on when you have a year 7 class sandwiched between two junior primary classes! This system is also very practical for mobile teachers as a sarong weighs very little in the ‘cart’.  Without doubt, the most impressive Kursi Luar Biasa chair I have ever seen is Ibu Anne’s. How gorgeous is it!! Her students absolutely love it. See the link below for the post I ‘stole’ (borrowed) the photo from!!


Have you tried Kursi Luar Biasa with your students? If you have or you just want to ask a question about this post, please write it in the comments below. All your questions and comments are greatly appreciated; not just from me but from everyone who reads this!

‘Pleased To Meet You’ by Jim Tripp – Junior Primary Lesson Outline

‘Pleased To Meet You’ is without a doubt the best story (I believe) to use as a springboard into TCI/TRPS. In my first year of using TPRS, I used the version below of Jim’s brilliant story with all year levels; R (prep) – year 7. A huge thank you to Jim Tripp for his kind and generous permission allowing me to share it with you. The beauty of this story is its simplicity, quirkiness and economic use of language.

The outline in this post is a blend of a unit of work that Ibu Sharon and I created in 2017 for conference presentations and my own classroom practise. It is designed for preliterate students however can equally be used successfully with all other junior primary year levels.  I now teach these lessons with both the straight reception (prep) classes and the composite R/1’s. Thus the year ones in these composite classes work with this story twice and I’m guessing you’ll be astonished to hear that I have not ever had a student comment about this!

If you are starting out on your CI journey and your JP students are also unfamiliar with CI, this outline can also see used successfully with all JP levels as not only does this story introduce structures vital for story telling & co-creating stories but it also is a gentle and engaging way to introduce your students to the language and expectations useful in a CI classroom.

The target vocabulary in the junior primary story version includes the following three structures:
nama saya, siapa nama, berkata (My name is, What’s your name, said)
The following are also in the story: di (at), dari (from), Astaga! (OMG!)autograph & pingsan (faints) but instead of pre-teaching these, I personally prefer to say the words in both languages (Indonesian first followed immediately with the English translation) & incorporate comprehension checks until I assess they were no longer necessary and then just use Indonesian. With my reception (prep) students I use ‘di’ & ‘Astaga!’ but not ‘dari’ or ‘pingsan’; I use ‘from’ & ‘faints’ instead. We all know our own student cohort best and you will know whether to use the Indonesian, the English or both for these ‘bonus’ words. I can’t stress enough the importance of always minimising unfamiliar vocabulary to avoid student cognitive overload. The only way you can fully understand how stressful this can be for your students is to join a class teaching an unfamiliar language as we did with Blaine Ray at the recent 2019 Australian TCI Conference. Please, please, please keep this in mind when teaching.

To personalise the story, I highly recommend using the name of familiar staff from your school in your story. Changing the celebrity name and the location to suit your current student’s interests will also ensure that the story appeals to your students.

It is also  important in all TCI stories that cognates and proper nouns (not common nouns) are used. For example ‘McDonalds’ & ’hamburger’ are easily recognisable cognates whereas ‘rumah makan’ (restaurant) & ‘nasi’ (rice) are not. Cognates & familiar proper nouns are a gift to language learners and teachers. They help us to reduce the cognitive load and facilitate the ‘narrow and deep’ mantra that underpins CI teaching.

One final note regards the intentional lesson structure I use when planning activities in my JP lessons. The younger the students, the more important it is to keep activities short and sweet and for every sitting activity, follow it with an up and moving activity. I call this the up/down/up/down format! Students this age need lots of movement and restricted sitting time!

Here is the JP story version; 

Pleased To Meet You by Jim Tripp

Taylor Swift di MacDonald’s.
Pak Taylor di MacDonald’s.

Taylor Swift berkata ‘Halo. Nama saya Taylor Swift. Siapa nama?

Pak Taylor berkata ‘Nama saya Pak Taylor.’

Taylor Swift berkata ‘Pak Taylor? Pak Taylors dari PEPS? Astaga!

Taylor Swift berkata, ‘Autograf?’
Taylor Swift faints

English Translation:

Taylor Swift is at MacDonald’s.
Pak Taylor is at MacDonald’s.

Taylor Swift said ‘Hallo. My name is Taylor Swift. What’s your name?

Pak Taylor said ‘My name is Pak Taylor.’

Taylor Swift said ‘Pak Taylor? Pak Taylor from PEPS? OMG!

Taylor Swift said, ‘Autograph?’
Taylor Swift faints


Junior Primary Lesson Outlines

LESSON 1. Target Structures:
nama saya 
(my name is)
ya/tidak
 (yes/no)

Welcome: (A huge thank you to Diane Neubauer for her permission to use an adaptation of her wonderful introduction here)
Halo Kelas!  Welcome to Indonesian. My name is Bu/Pak (Mrs/Mr)_____. Can you say that?
(Repeat very slowly) ‘Bu/Pak _____ . What do you think Bu/Pak means? Ya! Bu/Pak
means Mrs/Mr and if I was a man/woman, my name would be Pak/Bu ______! Pak/Bu
means Mr/Mrs.
How do you feel about learning Indonesian?
I think learning Indonesian is cool too.
Some students feel nervous/ worried about learning Indonesian. They think it is
going to be hard. Do any of you feel more like that? Thank you for telling me this.
I’m going to share with you a few things which will help you enjoy learning Indonesian and also help you learn it faster.
Go through the rules briefly:
JP – Dengar, Diam, Duduk (Listen, Quiet, sit down)
Do you know any Bahasa Indonesia?
What do you think learning Indonesian will be like?


TCI Activity # 1: Roll
I always begin calling the roll with the statement ‘Ayo mengabsen’.
followed quickly by pop-up English translation;  That is Indonesian for let’s call the roll.
I call the roll using class dojo.
Greet each child with a wave & a halo with their name.
Encourage students to reply with Halo Bu Cathy.


TCI Activity # 1: Class Expectations
Direct student attention to the 3 monyet poster. Discuss briefly what they are doing? Sitting, listening and being quiet! Explain that the monyet are being very clever and they are reminding you of what you need to do to learn Indonesian.  Clarify that when students are doing the right thing they can earn positive class dojo points and when they are not doing the right thing, they will get a negative class dojo point.
I then refer to the poster throughout the lesson and give class dojo points to students doing the right thing!
Screen Shot 2019-02-06 at 11.12.04 am.png

(see TPT for a free copy of this poster – acknowledgement to Annie Beach for her impressive artistry)


TCI Activity # 2:  Introduce the target structure ‘Nama saya’
1. Say ‘Nama saya’.
2. Explain ‘Nama saya’  is Indonesian for “My name is…”
3. Students echo the teacher with various voices. Voice ideas include growly, squeaky, opera, whisper, very slowly ( I really love saying the structure slowly because it provides youth the opportunity to clearly enunciate it!).
Note that ‘listen & repeat’ is strongly discouraged in CI classrooms however I have found that junior primary students thoroughly enjoy it because of the quirky voices. It is a compelling way for them to hear novel repetitions of structures and the more unusual the voices, the more engaged the students become!
4. Provide the gesture.
5. Do one more comprehension check. (what does ‘nama saya’ mean, close your eyes and do the gesture for….)

TCI Activity # 3: Circling ‘- Nama saya’ (Remember to speak SLOWLY)
Here is the script that I used with my 2018 reception classes:

Say ‘Nama saya Bu Cathy’ and point to myself.
What do you think ‘Nama saya Bu Cathy” means?
Ya; ‘Nama saya Bu Cathy” means, “My name is Bu Cathy.”
Hold up a Dora The Explorer (or any soft toy character that is easily recognisable by that age level).
Nama saya Dora.
Ya!  Nama saya Dora.”
Comprehension check: Nama saya Dora means My name is Dora!
Is that right? Is her name Dora?
Ya!!
Point to myself:
Nama saya Bu Cathy!
Ya! (thumbs up)
(Pointing to myself) Nama saya Dora?
No!! Nama say Bu Cathy
Nama saya (their teacher?)
Nama saya Jett? (Use a student’s name from the class)
No!!
Bagus!!
Nama saya Bu Cathy?
Ya!! Nama saya Bu Cathy!
Nama saya Mrs Turley or Nama saya Bu Cathy?
Bu Cathy!
Ya!!
What do you think ya means? That’s right – yes!
Hold up monyet puppet and say:
Halo kelas! (Waving his hand at them) and then:
Nama saya Big Bird??? Monyet shakes his head no.
No!! Bukan!!
Nama saya Cookie Monster??? Monyet shakes his head no.
No!! Bukan!!
Nama saya Monyet?? Monyet shakes his head yes!
Ya!! Nama saya Monyet!  Monyet nods his head yes!
What does ‘Nama saya Monyet’ mean?
Ya!! Nama saya Monyet means, my name is Monyet!
Monyet again asks, Nama saya Jett? (student from the class)
Simultaneously with the class, negate this saying bukan!
Nama saya Monyet!
Nama saya Bu (their class teacher)?
Simultaneously with the class, negate this saying bukan!
What does ‘bukan’ mean? Repeat again shaking head. Ya!! Bukan means no.
Bagus!
Monyet again; ‘Nama saya Monyet’.
Nama saya Monyet or Nama saya Jett?
Ya!! Nama saya Monyet!

Repeat this with other student names from this class and each time, Monyet waves to that student!
Continue circling with other cards/props until you feel students have sufficiently grasped the target language or the students are becoming restless.


TCI Activity # 4: Fun Target structure Repetitions (to get more repetitions of the target structures use games, fun rhythms or songs that do not contain any unfamiliar vocabulary.)
Choose one of the following ‘nama saya’ activities:
1. Clapping: Clap hands twice and then knees twice while simultaneously saying intimate to the clapping; ‘Nama saya Bu/Pak ______,’  then repeating the clapping rhythm for the students to echo you, in time with the rhythm. Continue using students names by going around the circle with the students echoing! In the second round, encourage individual students to say it using their own name with the class & you echoing.
2. Piccadilly Circus – students stand in a circle with one child in the centre holding a soft a ball. They walk/run to someone in the circle and say as they hand over the ball, “Nama saya _____”. The 2 students then swap places & the person with the ball then walks/runs to someone different and says “Nama saya ________”.  You can vary this game by asking students to sit down after they have passed off the ball or you can add another different coloured ball and play it with 2 balls.
3. dum dum dah dah – (replace dum, dum, dah, dah with Nama saya)


LESSON 2Target Structures:
Siapa nama? – What is your name?

TCI Activity # 1: Roll (Getting to know the students and familiarising them with how each Indonesian lesson begins)
I always begin calling the roll with the statement ‘Ayo mengabsen’ and again follow this immediately with a pop-up English translation;  That is Indonesian for let’s call the roll.
Call the roll using class dojo and as with the previous lesson, greet each child with a wave, a halo and their name while encouraging students to reply with Halo Bu Cathy.

TCI Activity # 2: Review & Expand Student understanding of Class Expectations
Review the 3 monyet poster and the benefits of sitting, listening and being quiet in Indonesian lessons!

TCI Lesson Activity # 3 – Nakal/Pandai
(Introduce your preferred behaviour management system. Here is a link explaining in more detail how I manage my very successful JP behaviour management system.)
Discuss nakal/pandai and reiterate what is pandai in kelas Bahasa Indonesia and what is nakal di kelas Bahasa Indonesia. Link to tiga monyet and give class dojo points to students being pandai.
Introduce and sing together the following song to reinforce tiga monyet.
satu, satu, duduk, duduk, duduk.
dua, dua, diam, diam, diam.
tiga, tiga, dengar, dengar, dengar.
satu, dua, tiga, duduk, diam, dengar.

Put a stick up on the board next to the pandai poster using blutack and again reinforce diam, dengar, duduk.


TCI Activity # 4: TPR (Total Physical Response)
1. Revise meanings for berdiri, duduk. (stand, sit) &
2. Introduce perempuan/ laki-laki (girl/boy).
3. Explain/translate ‘perempuan’  is Indonesian for “girl” and ‘laki-laki’  is Indonesian for “boy.”
4. Students echo the teacher with various voices. Voice ideas include growly, squeaky, opera, whisper, very slowly ( I really love saying the structure slowly because it provides youth the opportunity to clearly enunciate it!).
5. Brainstorm for a gesture for the structures (e.g. girl = hand pretending to puff up hair & boy = stroking beard or drawing a moustache)
6. Do one more comprehension check.

Here’s my script from my 2018 reception classes:
Jett (student name) laki-laki.
Jett laki-laki? Ya Jett laki-laki.
Julie laki-laki? Bukan. Jett laki-laki.
Jett laki-laki atau Julie laki-laki?
Ya Jett laki-laki.
Repeat for a female student.
Repeat using SpongeBob. SpongeBob laki-laki atau SpongeBob perempuan?
Comprehension check. and move to incorporating laki-laki & perempuan:
Perempuan berdiri.
Jett perempuan atau Jett laki-laki? Ahh, Jett laki-laki! laki-laki duduk.
Perempuan duduk.
Laki-laki berdiri.
Jess laki-laki? Jess perempuan? Ya! Jess perempuan! Jess perempuan duduk!
Laki-laki duduk!
**Comprehension check often**


TCI Activity # 5: Circling – ‘Siapa Nama?’
From a bag, take out 2 puppets and begin a puppet show:
Bert: Halo kelas!
Bert: Nama saya Mr Banana.
Teacher says: Is that right? No!!
Bert: OK! Nama saya Bert!
Bert: Siapa nama? (to puppet 2 – SpongeBob ). (Comprehension check)
SpongeBob then asks a student sitting at the front, Siapa nama? (comprehension check).
SpongeBob (to Bert): Nama saya Jett (repeating name given by student).
Bert: Bukan!! Bukan Jett.
Bert points to Jett and says ‘Jett’ while nodding head. Points to SpongeBob and shakes his head saying, ‘Bukan Jett’. Points to Jett again and while nodding & waving says, ‘Halo Jett!’
Repeat for several students.
SpongeBob: ‘Nama saya Bu Cathy?’
Teacher: Bukan. Nama SAYA Bu Cathy!!
Bert: Siapa nama (to SpongeBob). (Ramp it up by being theatrical!!)
Teacher: Siapa nama? (to SpongeBob & again to the class)
Encourage class to answer.
Bert & SpongeBob say together: SpongeBob!
SpongeBob: Ya, Nama saya SpongeBob


TCI Activity # 6: Fun Target structure Repetitions 
1. Raja Monyet (monkey king).
Students sit in a circle, with
one child in the middle with his/her eyes well covered. Select another student who will be the ‘Raja’ (king) and give them a name, which is familiar to your students. For this story, the ‘Rajas’ name would become Pak Taylor or Taylor Swift! The student in the centre is then invited to choose 3 different students (one at a time) and ask each, “ Siapa nama?”(What is your name?). All students except for the ‘raja’ answer with “Nama saya & their own name”(My name is _______) but the Raja answers with ‘Nama saya Taylor Swift.”(My name is Taylor Swift) With this answer, everyone must swap seats. Teacher can then choose a new ‘Raja’ and a new person to sit in the middle.
2. Last year I wrote a song that uses a very slow ‘skip skip, skip to my Lou‘ tune:
Siapa nama?
Siapa nama?
Siapa nama?
Siapa nama?
Nama saya Bu Cathy!
3. I also created a new game which is perfect for reps on siapa nama & nama saya with junior primary students:
Students walk together in a circle around the room in the same direction with music playing. When the music stops, each student has to drop to the ground like a rock with their eyes closed and their face facing downwards. ( It is important when explaining how to play this game that students understand that if they are not tucked up like a rock, they can’t be covered with the sarong, so I recommend before playing, ask a student to demo curling up like a ‘rock’ beforehand with their face facing the ground.) I walk with the students while the music is playing and when the music stops, and all the student are curled up like a rock, I cover one student with the sarong. As soon as I ask, “Siapa nama?”, students can sit up and walk over to the student covered by the sarong and stand around him/her without touching the sarong (or student) and answer my question. I restate every answer with ‘Nama saya (suggestion)?’ and if I say the right name, the student under the sarong jumps up! This became one of the most requested games last year!! Over the year, I gradually phased out the music and incorporated TPR language into the game and sometimes, I even covered two students with the sarong!!


TCI Activity # 7Farewell Song; (Tune: If you’re happy and you know it clap your hands)
Sampai jumpa, Sampai jumpa, Sampai jumpa
Sampai jumpa murid-murid/ anak anak (or simply kelas _______)
Sampai jumpa Bu/Pak_______,
Sampai jumpa, Sampai jumpa, Sampai jumpa


LESSON 3Target Structures:
berkata – said

TCI Activity # 1: Roll
At this stage, I simply say their name and when they answer, I just greet each person with ‘halo (+ name). At this stage of the year, this is purely for me to start attaching names to faces.

TCI Activity # 2: Behaviour Management – ‘Nakal/Pandai’

TCI Activity # 3: Introduce the target structure ‘berkata’
1. Write ‘berkata’ on the board. (except for reception/prep classes)
2. Explain/translate ‘berkata’  is Indonesian for “say/speaks”
3. Students echo the teacher with various voices. Voice ideas include growly, squeaky, opera, whisper, very slowly ( I really love saying the structure slowly because it provides youth the opportunity to clearly enunciate it!).
4. Brainstorm for a gesture for the structure and choose one that replicates the one you personally want or was chosen in a previous class.
5. Do one more comprehension check, (close your eyes and do the gesture for….).

TCI Activity # 3: Circling
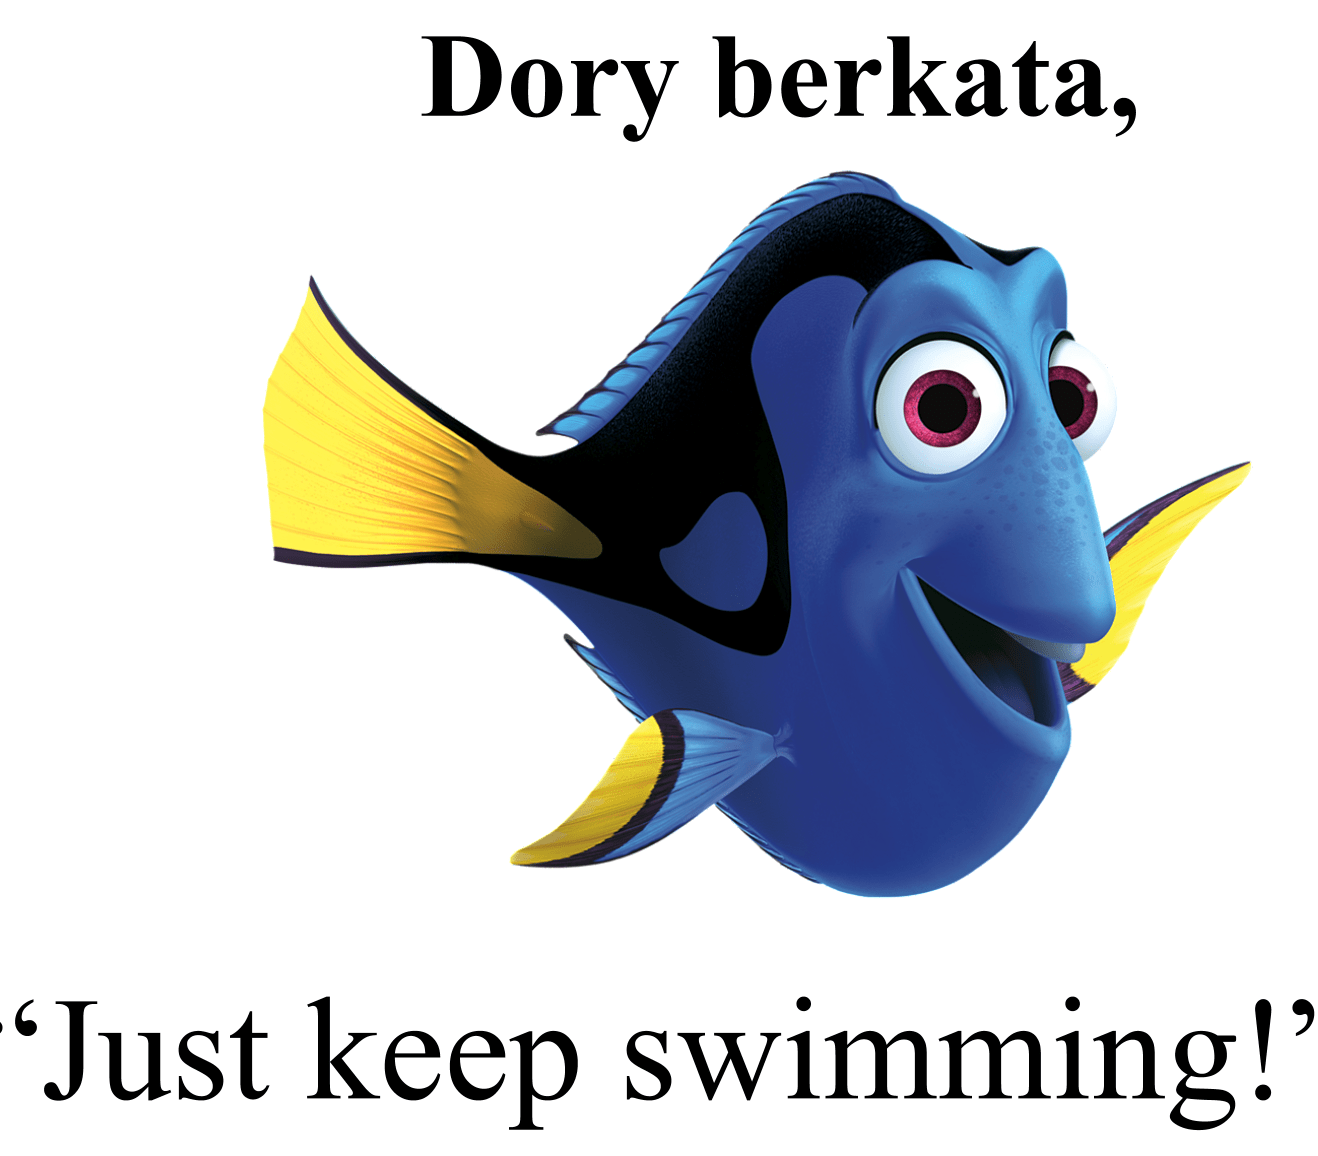
Create a powerpoint of characters who have saying that are well known for your student cohort. What worked well for me was adding an animation for the ‘saying’ to delay the text until after you have brainstormed as a class and included heaps of reps of ‘berkata’. If students can’t remember exactly what the character is known to say, I prompt with ridiculous suggestions. e.g. Dory berkata, “Let it go”? And I don’t just say ‘Let it go”….. I sing it theatrically!! Boy, does that get a great response!!
For my junior primary students the following were very successful:
Spongebob berkata ‘Krabby Patty’.
Elsa berkata ‘Let it go.’
Pikachu berkata ‘Pika, pika.’
Bob the Builder berkata ‘Can we fix it? Yes we can!’
Dory berkata ‘Just keep swimming!’
screen-shot-2019-02-04-at-11.28.18-am.png


TCI Activity # 4: Target Structure Reps Activity
To get more repetitions of the target structures and provide students with a chance to move around, use games or fun rhythms that only contain familiar vocabulary or cognates. e.g.
Students stand in a circle. Teacher says a sentence from the powerpoint and the students  each mime it. Teacher then regards the selection of actions while repeating the sentence over and over before celebrating the students who have demonstrated it creatively and theatrically. Incorporate comprehension checks when necessary.
This activity is excellent for priming students for ‘All the World’s a Stage’ which benefits from OTT actions.

TCI Activity # 5: CI Activity – Tell the Story “Pleased to Meet You’ using puppets/soft toys/actors
Using the props that you feel most comfortable with, tell the story, circling & triangle each new detail for which students require repetitions. Remember the most important tip that Blaine shared with us at the conference; add characters not new sentences!
Note: With reception aged students, I recommend telling the story and save co-creating for older students.


TCI Activity # 6:  CI Activity – All the Worlds a Stage
In pairs, students act out the story as it is told to them by the teacher.
Here is how I introduce All The Worlds A Stage to students for the first time:
1. Students stand in a circle. I say the sentences in order, starting at the beginning. Each student mimes that sentence exactly. I acknowledge the students who do a brilliant job of this, encouraging creativity and exaggerated actions.
2. Then I ask students to duduk before explaining that “Cari satu teman dan duduk” means “Find a friend and then sit down’ and that the last two people standing will automatically become partners. (If there is an odd number, either I will offer to be that persons partner of they will be told to join in with a pair and make a group of 3. This depends on the activity. For ATWAS – I invite the student to be my partner.) We practise finding a friend a few times to both review the language and the process.
2. Once the class is sitting down with their friend, I ask the class to watch my demo. I turn to my ‘friend’ and say in English, do you want to be SpongeBob or do you want to be Bu Cathy?” I answer their response with ok! Then I ask my ‘friend’ to do another demo. Again I ask them ‘Do you want to be SpongeBob or Bu Cathy?’ Whatever they answer with, I say sadly and pretend to cry, “Oh, I wanted to be that.” We then discuss as a class what to do when both want to be the same character. I usually model saying to my ‘friend’ you be Bu Cathy this time and I’ll be Bu Cathy next time. OK?
The best thing about doing ATWAS twice is the REPETITION!!  Score!
3. Partners choose who they will be. I then say in Indonesian, SpongeBob berdiri. SpongeBob duduk. Bu Cathy berdiri. Bu Cathy duduk. (This is largely to double check that there is one of each character in each partnership as well as being the perfect opportunity to sneak in some sneaky TPR).
4.  I then say very slowly, sentence by sentence with as many reps as possible & acknowledging awesome acting;
“Bu Cathy berdiri.
Ada perempuan.
Nama perempuan Bu Cathy.
Bu Cathy di MacDonalds.
Bu Cathy duduk.
Spongebob berdiri.
Ada laki-laki.
Nama laki-laki SpongeBob.
SpongeBob di MacDonalds.’
Bu Cathy dan SpongeBob berdiri.
SpongeBob berkata, “Halo! Nama saya SpongeBob” (pause for students to echo).
“Siapa nama?” (pause for students to echo).
Bu Cathy berkata, “Halo Spongebob.
Nama saya Bu Cathy.” (pause for students to echo)
SpongeBob berkata, “Bu Cathy? (pause) Bu Cathy? (pause again) Bu Cathy from Port Elliot Primary School? (pause again).
Bu Cathy berkata, “Ya. Nama saya Bu Cathy.”
SpongeBob berkata, “Astaga! Autgraf!”
Bu Cathy autographs (I encourage students to write on their friends hand with a finger!)
SpongeBob faints.

The above is repeated once more from step 2  but before we start, I explain that each pair needs to check if either wants to swap characters. If one person wants to swap, they must swap but if no one wants to swap, they can stay the same!

TCI Lesson Activity # 7 – Nakal/Pandai
Menghitung! comprehension check!
Count the tally in Indonesian and then if the pandai tally is more than the nakal tally, remove the stick from the board and ask the class, “Siapa nama?” Restate suggestions with ‘Nama saya Jett?” Bukan! I also throw in laki laki & perempuan here to give clues.
eg Nama saya Jett? Bukan. Saya bukan laki laki. Saya perempuan.
Once we have guessed the name of the student on the stick, they can choose an item from the Treasure Box.

Farewell Song; ( Tune: If you’re happy and you know it clap your hands)
Sampai jumpa, Sampai jumpa, Sampai jumpa
Sampai jumpa murid-murid/ anak anak (or simply kelas _______) Go
Sampai jumpa Bu Cathy,
Sampai jumpa, Sampai jumpa, Sampai jumpa


Lesson 3 & Beyond…

This lesson’s main focus is the parallel story. I love to make PowerPoints from my parallel stories using well known characters and then record myself telling the story. This can then be uploaded to YouTube for students to listen to firstly in class and then repeatedly in their own time at home.

Here is  an example of one of my adult co-created parallel ‘Pleased To Meet You’ story.


I haven’t uploaded a junior primary one yet. The one I made last year was not successful because I used Ronald MacDonald & sadly in every class there were students who were familiar with an M rated film about an evil clown, so it won’t be used again let alone uploaded!

From this point, I usually base my lessons on TCI activities suitable for preliterate students that are fun ways to get. more repetitions on the parallel story.

I also highly recommend continuing to incorporate TPR to build up a classroom context vocabulary with words such as putar (turn), duduk di kursi (sit in a chair), berjalan kaki (walk), antri (line up), berdansa (dance), stop, melompat (jump) & berlari (run). Restrict this list of words to those that will help you minimise the use of English in the classroom and also words that you know will be necessary for future stories! There is no single list of TPR words because we all teach differently!!


Assessment:
At this level of schooling, open assessment of preliterate students will be based entirely on observation due to students inability to read and write.
Here are a few recommended closed assessment strategies perfect for this age group:

Listen & Draw – Teacher says a sentence from the story, students listen to the sentence and then illustrate the sentence to demonstrate comprehension. While the students are drawing, teacher observes who is drawing and who is not. By asking one of the students who is drawing to translate the sentence into English, provides evidence that the sentence was comprehended successfully while also providing a comprehension check for those who had yet to begin drawing.


Simon says – Teacher says a word (eg duduk) but precedes it with ‘Simon says’ (replace this with Bu/Pak & your name) if the students are to do the action. If the word is said alone, the students do not move.
Note: Traditionally, all students who do the incorrect action are asked to sit or stand out. I try to avoid this if possible and permit the students to continue playing the game. Much more enjoyable for everyone and also ensures all students are participating; thus providing more observation data!


Create a class book – Organise the story so that one sentence is on one page. Print the pages on A3 and distribute randomly to students – if more students than pages, arrange duplicate copies. When the illustrations are completed, reduce them on the photocopier to A4 (you’ll be amazed at how much this improves the illustrations) and then bind.
Optional – laminate each page.
Credit Annie Beach & Amy Vanderdeen for this strategy.

For older JP students other assessment tasks could include:

  1. Unjumble words from a sentence taken straight from the story.
  2. Sequence sentences from the story.
  3. Match pictures and sentences from the story.
  4. Flyswatter game.
  5. Create individual book copies – Use the booklet setting on the photocopier with a sentence from the story on each page. Students illustrate one page at a time while the teacher reads the text out. It becomes very clear very quickly which students have acquired the language.
    (Students can then take the booklet home to read to parents, siblings and pets!)


If you have any other CI activity ideas that could be added to this unit of work, please add them to the comments below!! All contributions gratefully accepted!

Hand Clapping Rhyme Ideas

Luh Sriasih shared on the Indonesian Language Teachers in Australia Facebook Group a post about hand clapping rhymes and right down the bottom is a video showing how they are done!! Have a look at them all because there are sure to be ones that you could incorporate into your lessons successfully with your students either as a stop and listen strategy or adapt for sneaky reps of target structures!!
Here is the video:


The  cultural aspects of the video are fascinating too. Lots of intercultural understanding opportunities here. Remember the answers don’t have to be right or wrong, it is purely about encouraging suggestions that demonstrate an attempt to respectfully ponder and understand the differences between ourselves and others. The ability to put oneself in another’s shoes and regard other cultures with empathy is vital.  Differences exist all around us; even in our classrooms.
Questions could be about:
-is it a private or government school? How can you tell?
-why are the boys sitting towards the front of the class?
-Is there a gender balance?
-is the classroom similar or different to yours? why? how?
-why are the students yelling?
-why are some rhymes more popular than others? How can you tell?


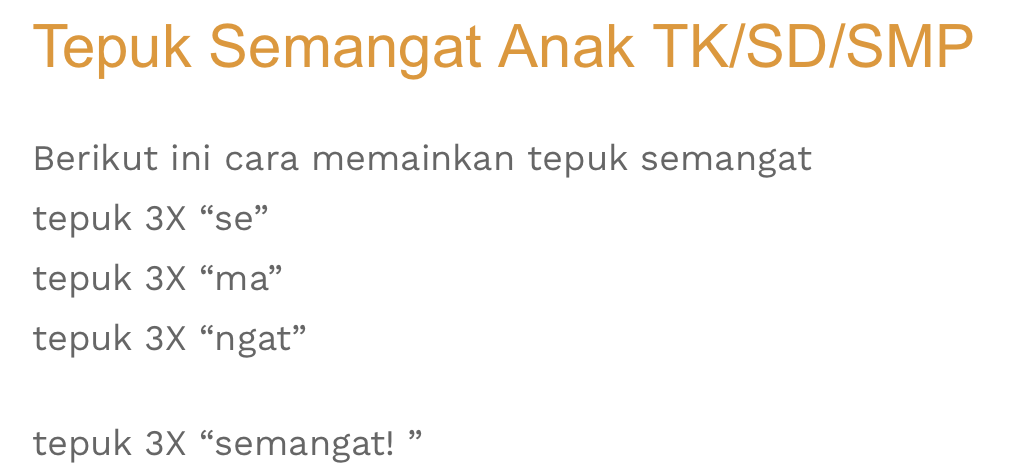
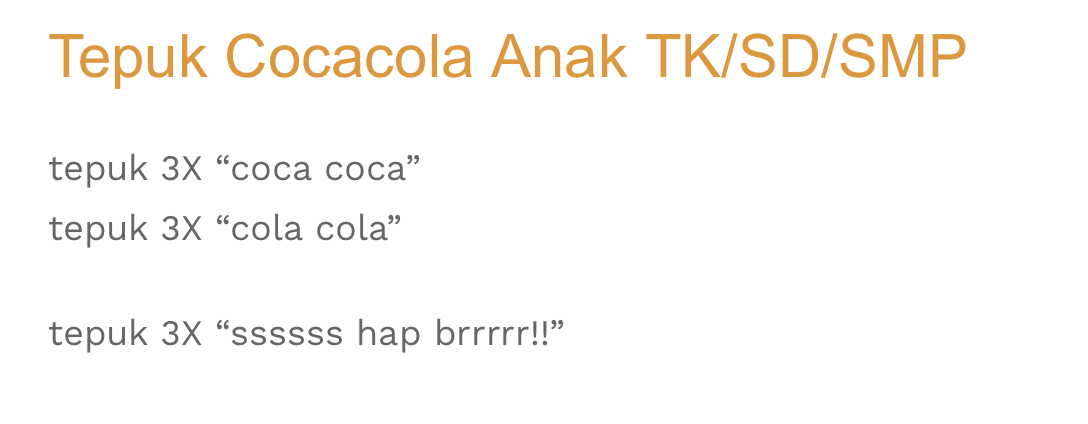
Which ones do you think will work with your students? My favourites are the semangat and the Coca Cola rhymes! I particularly like how they clap it out so quickly!! While we can encourage students to clap this quickly, it is important that the spoken parts are drawn out SLOWLY!

screen shot 2019-01-28 at 7.31.16 am

screen shot 2019-01-28 at 7.31.27 am

Then in the comments I found another suggestion:
Screen Shot 2019-01-28 at 9.24.04 am.png

Do you have any hand capping ideas to add to this? Please add to the comments below including the age level you use them with!

I’ll finish up with some that I’ve used many times and with classes 3-7.

This one is one of several taught to us by our wonderful AIYEP visitors! We miss you all!

and finally, this one that I adapted from various sources to incorporate more high frequency vocabulary: