Last term, the junior primary classes looked at the text, “Sayang” as part of their study about keluarga. The book is one of books in the Seri Mari Membaca, a series which I believe is out of print now.
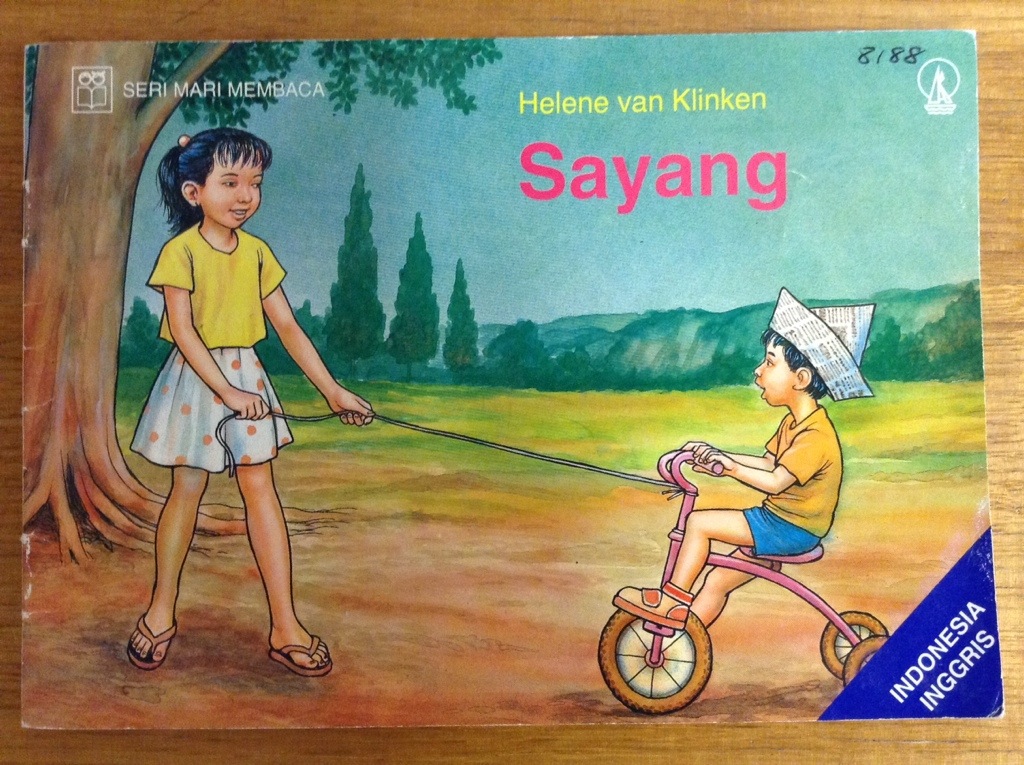
The illustrator of “Sayang” is Sutarno and it is the illustrations that I love most about this book.
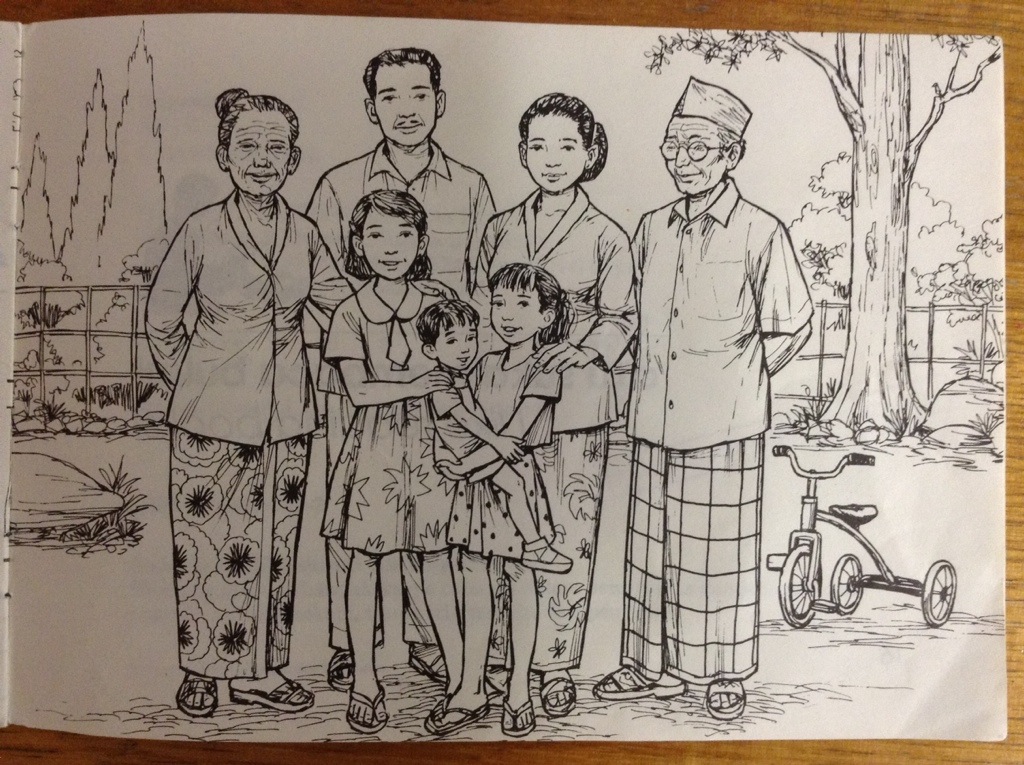 I love that the illustrations are of Indonesian people in an Indonesian setting and they are not westernised. I acknowledge that they are a bit stereotyped however, as it is not a negative stereotyping, it should provide a good opportunity for discussion.
The text in my copy has been altered by a previous Indonesian teacher who seemingly wasn’t comfortable introducing the word “aku”!

As these books are tiny (21cm x15cm), I decided to create a notebook file of the story for my students to make it more appealing. I photographed each illustration and then wrote my own text as I wanted to utilise the opportunity to introduce verbs, names and keluarga vocabulary. As Helene van Klinken has done in all her books, I kept the text repetitive to make the text as comprehensible as possible. For example, for the page about her mother, I wrote;
Ini Ibu saya.
Namanya Setia.
Ibu memasak di dapur.
Saya sayang Ibu.
I then asked an Indonesian friend to read the story while I recorded her doing so and attached each segment to the relevant page. This was a brilliant idea on so many levels. Firstly, my students were able to listen to a native speaker, which they absolutely loved. Secondly, Bu Mei read the last sentence of each page by putting stress on “sayang” (just as we would say, I loooove my mum) which fortunately emphasised the very word that was the point of the story! Thirdly, it was brilliant because it saved my voice! I could sit back for each of the 6 classes and just click on the picture and Bu Mei’s voice would fill the room and had us all spell bound!
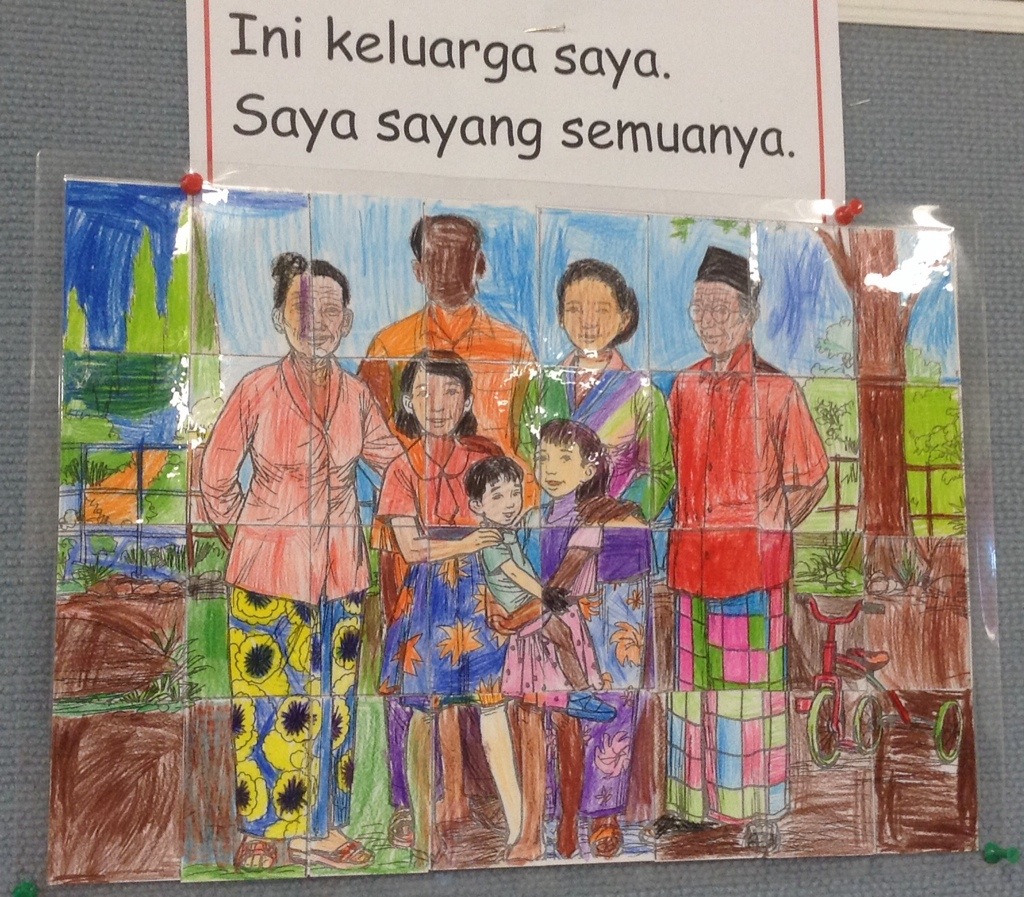
Each time we focused on this story, students commented on the lack of colour in the pictures, so during week 10, I photocopied each illustration and enlarged it to A3. I then drew an 8×4 grid over each one and this was photocopied again as the master. Each class was assigned one of the picture grids, which was cut up into 32 rectangles. Each student was given one of the rectangles to colour in. The first class to complete this task provided me with the best example of why it is important to sit with others who are working on the same part of the picture!! Some of the following classes did an excellent effort and worked so cooperatively together. The pictures have all been laminated and are now up on a display board above a table where I often heard students discussing them while working on their work last week.